Dive Into Magical Winter Nail Art Inspirations
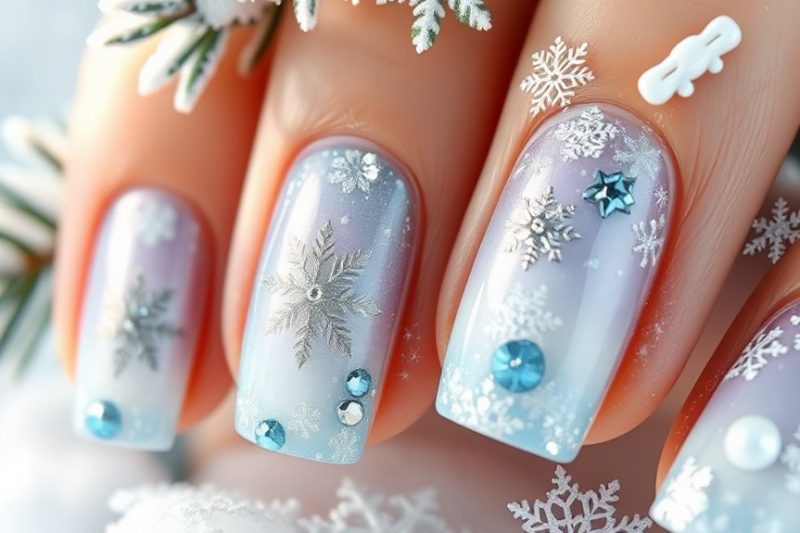
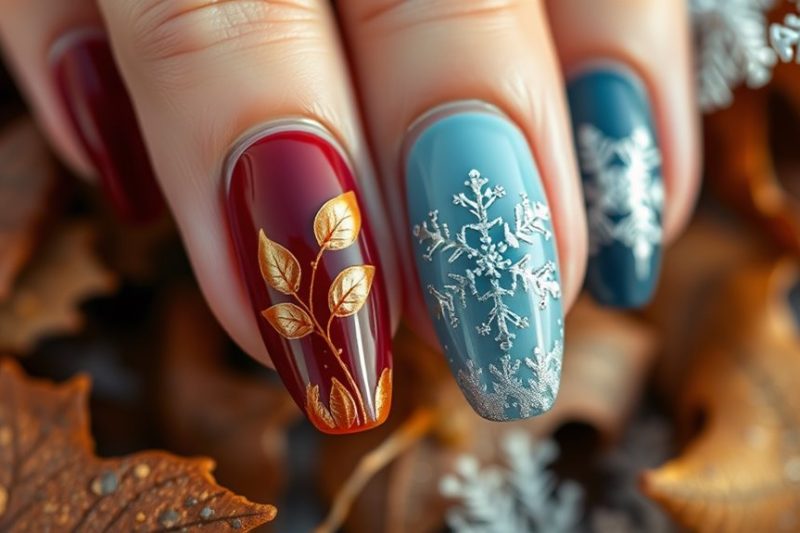
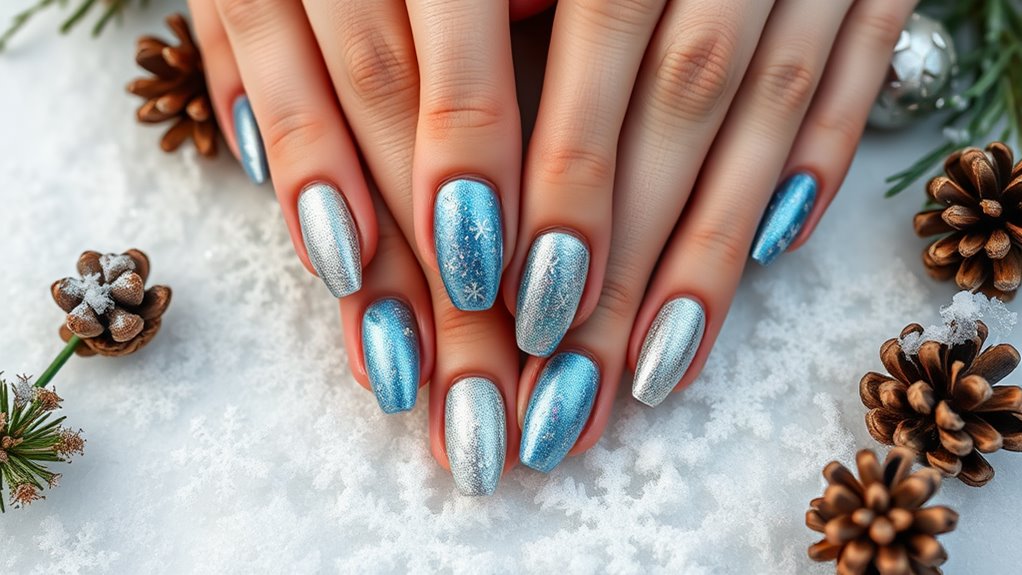
If you want to dive into magical winter nail art inspirations, you’re in for a treat! Imagine using deep emerald greens, icy blues, and rich burgundies to embody the season’s beauty. Create stunning snowflakes with a thin brush on a light blue base, outlining them in silver or gold for contrast. Don’t forget to add sparkle by sprinkling fine glitter on tips or using rhinestones for a festive touch. For nature lovers, designs featuring snowy landscapes or frosty branches can be really calming. With a little practice and some great techniques, you can easily craft your winter masterpiece! There’s plenty more to explore!
Winter Color Palettes
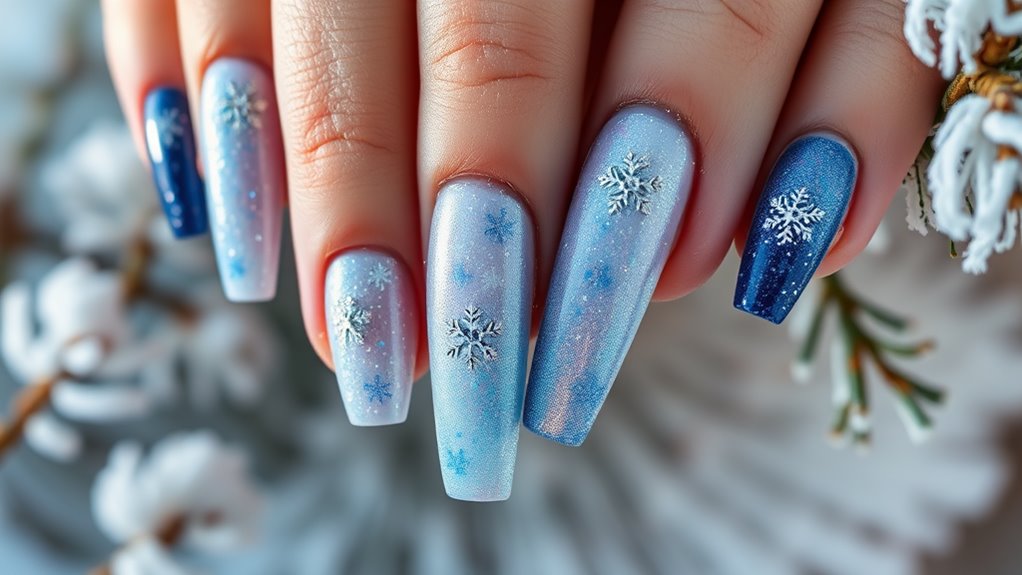
When it comes to winter color palettes, you’ll find a stunning array of hues that capture the season’s magic. Picture deep emerald greens, icy blues, and rich burgundies—these colors evoke the serene beauty of winter landscapes. You can mix and match these shades to create nail art that reflects your unique style and the season’s charm.
Consider starting with a base coat of frosty white or soft gray, which serves as a perfect canvas for your designs. Then, add pops of color like shimmering silver or glimmering gold to mimic the sparkle of snow under the winter sun. You could even incorporate deep reds or vibrant purples for a festive touch, perfect for holiday gatherings.
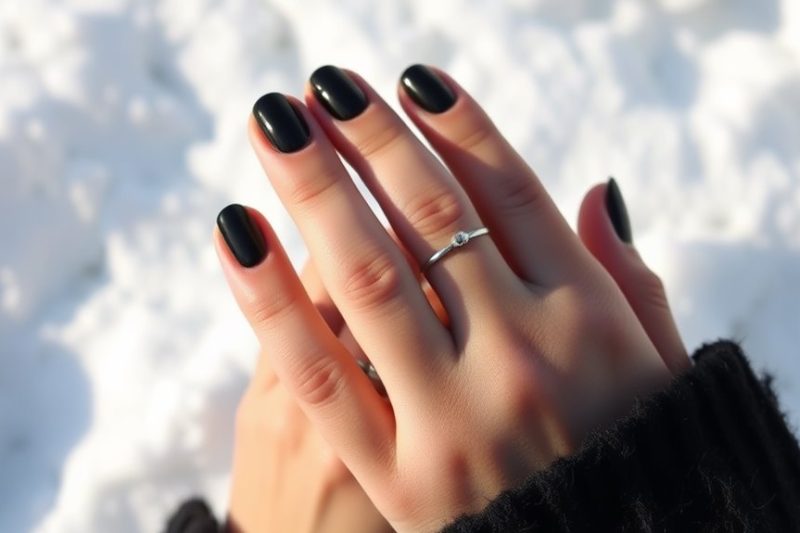
Don’t forget about the trendy matte finishes! They provide a modern twist to traditional glossy looks. Plus, adding a touch of glitter can make your nails stand out, just like twinkling lights during the holidays.
Snowflake Nail Art Techniques
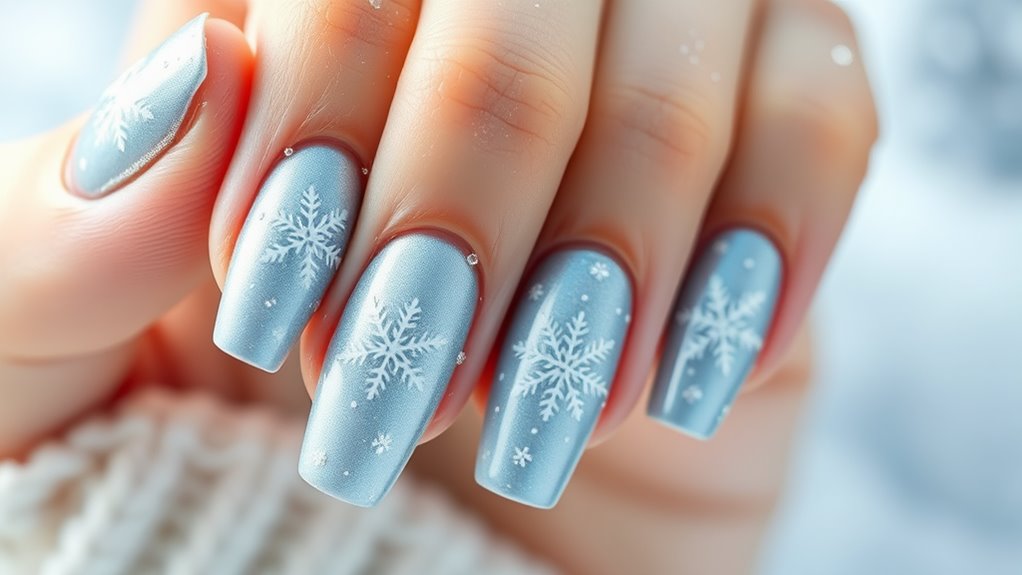
With those winter color palettes in mind, it’s time to explore snowflake nail art techniques that can elevate your winter manicure. Creating beautiful snowflakes on your nails is easier than you might think!
First, start with a solid base coat in a light blue or frosty white. This sets the perfect stage for your snowflakes to shine.
Next, you can use a thin nail art brush or a dotting tool to paint your snowflakes. For a classic design, draw a simple cross shape, then add smaller lines extending from the center. You can customize each snowflake by varying the size and shape of the arms.
If you want to add some flair, consider using a contrasting color like silver or gold to outline your snowflakes.
Another fun technique is to use a stamping kit. Just choose a snowflake design, apply the polish, and stamp it onto your nails for a quick and impressive look.
Don’t forget to seal your artwork with a top coat for durability and shine. So grab your tools and let your creativity flow—your winter nails are about to become a frosty masterpiece!
Festive Glitter and Shine
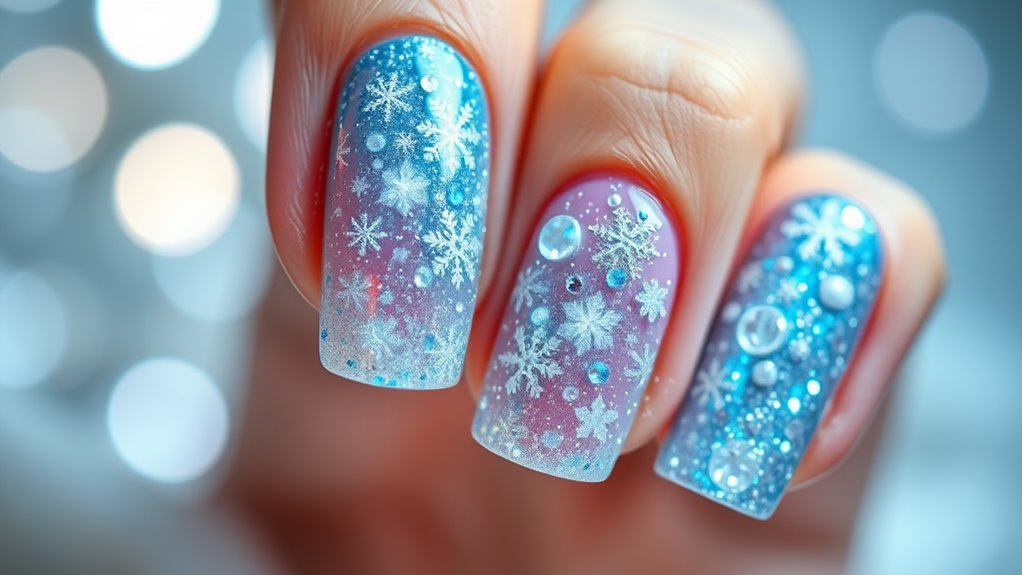
How can you make your winter manicure truly sparkle? Adding festive glitter and shine is the perfect way to elevate your nail art this season.
Start by choosing a base color that resonates with winter vibes, like deep blues or rich reds. Once you’ve applied your base coat and let it dry, it’s time to get creative!
You can sprinkle some fine glitter on the tips of your nails for a frosty effect, or use a glittery top coat for an all-over shimmer.
Don’t forget to experiment with different glitter sizes—chunky glitter can add a fun, bold look, while fine glitter creates a more delicate touch.
For an extra layer of sparkle, consider using rhinestones or nail stickers. Placing a few strategically can make your nails look like they’re adorned with tiny jewels!
Finally, seal your design with a quality top coat to keep that dazzling shine intact.
Remember, the key to festive glitter is balance. You want your nails to shine without overwhelming the overall look.
Nature-Inspired Designs
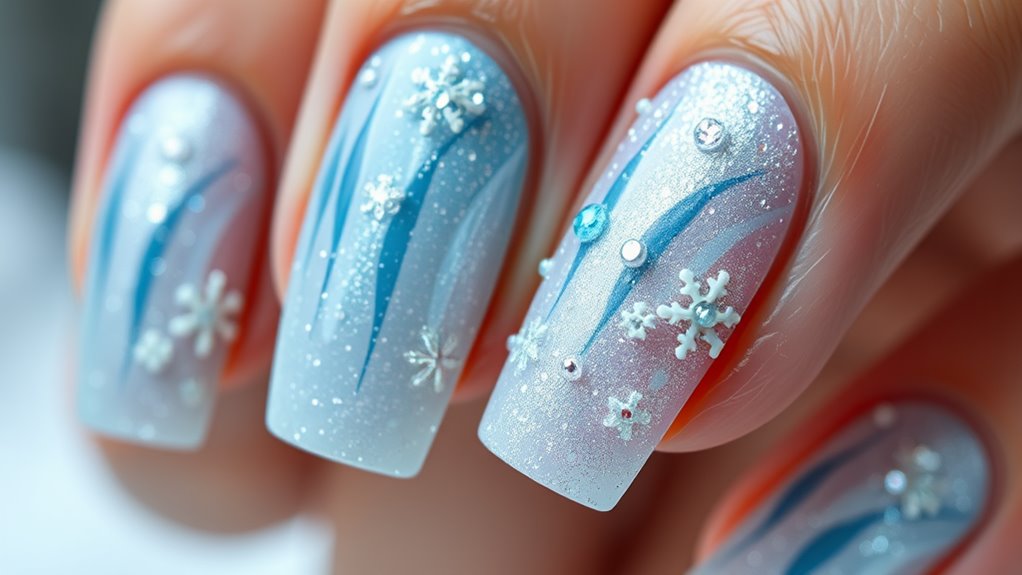
Embracing nature-inspired designs can transform your winter manicure into a breathtaking work of art. Think about incorporating elements from the beautiful outdoors, like snowy landscapes, frosty branches, and delicate winter blooms.
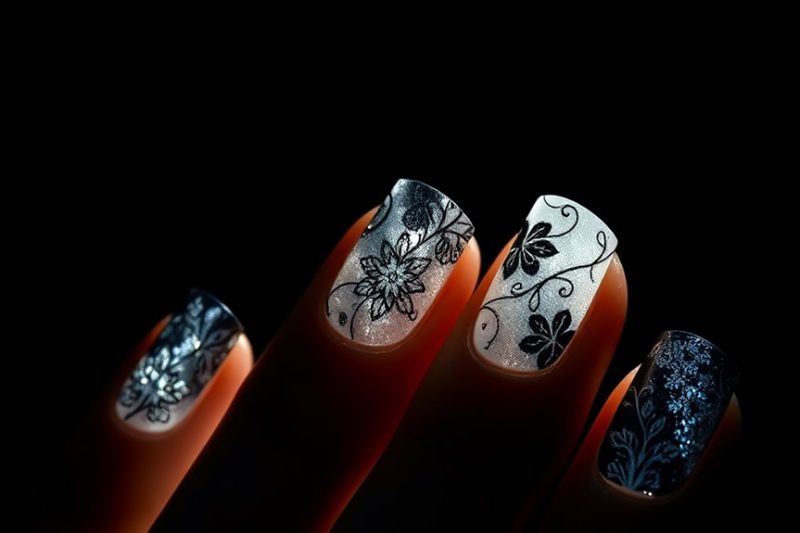
You can use soft blues and whites to mimic glistening snow, or earthy greens and browns to evoke the essence of evergreen trees. Consider painting tiny snowflakes or intricate leaf patterns on your nails. These designs can create a serene and calming effect, perfect for the winter season.
You might even want to add a touch of sparkle to represent icicles or shimmering frost, blending nature with a hint of glamour. Using a variety of textures can also enhance your winter nail art. Matte finishes can represent the softness of snow, while glossy topcoats can mimic the shine of ice.
Don’t hesitate to experiment with different techniques, such as water marbling or using stamps to create detailed patterns.
Tips for Long-Lasting Manicures
Achieving a long-lasting manicure is all about the right techniques and products. First, start with clean nails. Remove any old polish and wash your hands to get rid of oils and dirt.
Next, apply a base coat. This not only protects your nails but also helps the polish stick better, making your manicure last longer.
When choosing your nail polish, opt for high-quality brands. While they may cost a bit more, they often have better staying power.
Apply two thin coats of polish instead of one thick coat to avoid chipping. After that, seal everything with a top coat. This creates a protective layer that keeps your nails looking fresh.
Don’t forget to let each layer dry completely before applying the next. If you’re in a hurry, consider using a quick-dry spray or drops.
Finally, keep your nails hydrated. Regularly applying cuticle oil or hand cream can prevent dryness and breakage.

