Blush and Bashful: Pink Nails With a Wintery Twist
If you’re looking to brighten up your winter with pink nails, you’ve chosen a winner! Soft shades like blush, ballet slipper, and mauve are perfect for a polished look while deeper pinks add sophistication for holiday events. Try festive designs, such as snowflakes or Christmas trees, using fine brushes or stickers for added flair. Don’t forget to incorporate glitter, which can mimic the sparkle of snow! A quality base and top coat will keep your manicure lasting longer, too. Keep your creative juices flowing, and we’ll explore more exciting ideas for your wintery pink nails next!
Winter-Inspired Pink Nail Shades

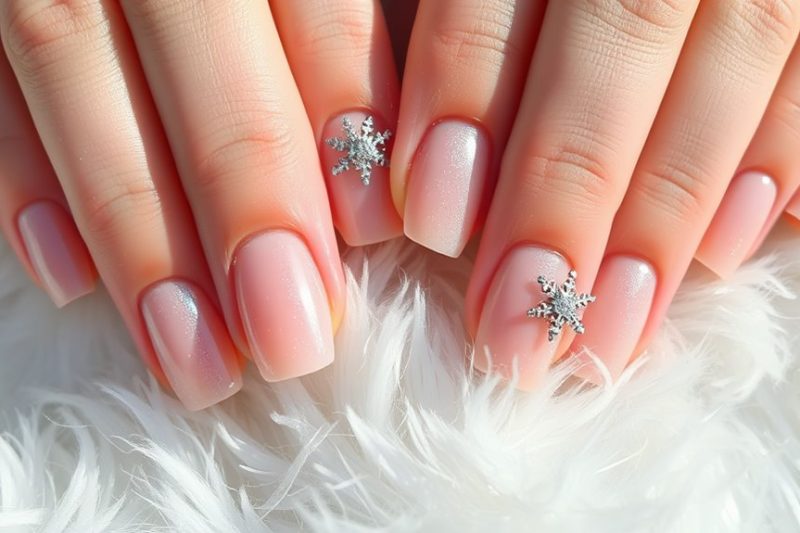
When the chill of winter sets in, why not brighten up your nails with some winter-inspired pink shades? Pink isn’t just for spring; it can bring warmth and cheer to those cold, gloomy days. You might want to try soft, muted pinks that echo the subtle beauty of winter landscapes. Think of shades like blush or ballet slipper pink. These colors are perfect for a polished, elegant look, making your nails stand out without being too loud.
If you’re feeling a bit bolder, consider dusty rose or mauve shades. These deeper pinks add a touch of sophistication, making them ideal for holiday gatherings or cozy nights in. You’ll find that these colors blend beautifully with winter outfits, from chunky sweaters to chic coats.
Don’t forget about shimmer! A touch of metallic or glitter in your pink polish can mimic the sparkle of freshly fallen snow.
As you experiment with different pink hues, remember that winter is all about expressing your style while keeping that seasonal spirit alive. So, grab your favorite pink polish, and get ready to show off those stunning winter-inspired nails!
Festive Nail Art Techniques
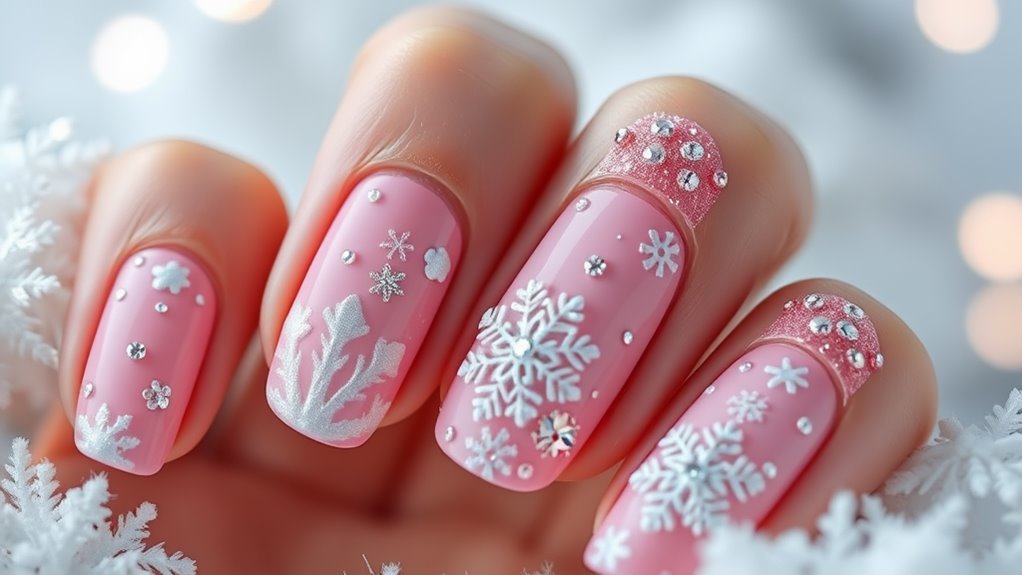
Embracing the festive spirit, you can elevate your pink nails with creative nail art techniques that celebrate the season. Start by picking a base pink shade that you love.
Once your base is dry, consider using a fine brush or toothpick to add fun designs. Snowflakes, for instance, are a perfect winter motif. Just dip your tool in white polish and create simple six-pointed shapes on your nails.
Another fun technique is the ombre effect. You can blend a lighter pink with a deeper shade to create a stunning gradient. Use a makeup sponge to dab the colors together for a seamless transition.
If you’re feeling adventurous, try adding holiday-themed accents. Cute little Christmas trees or ornaments can be painted on one or two accent nails. Just remember to keep it simple; intricate designs can be tricky to perfect!
Finally, consider using nail stickers. They’re an easy way to add festive flair without the fuss of freehand painting. Simply apply them on top of your pink nails for an instant upgrade.
With these festive nail art techniques, your pink nails will certainly shine this winter season!
Incorporating Glitter and Sparkle
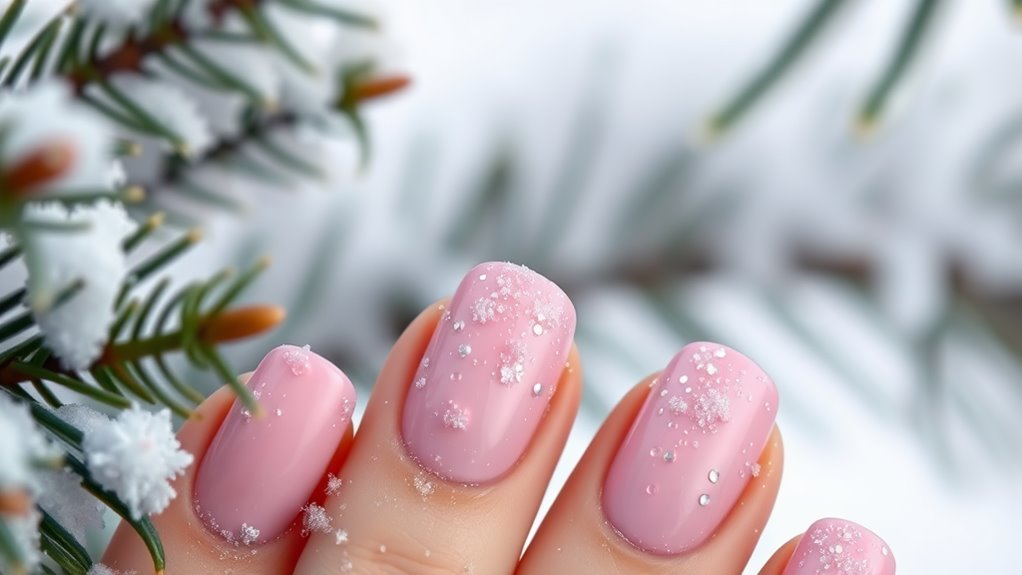
Adding glitter and sparkle to your pink nails can instantly elevate your winter look. Whether you’re heading to a holiday party or just want to brighten your everyday style, a little shimmer can make all the difference. You can start by choosing a glitter polish that complements your pink base, like silver or gold, which adds a festive touch.
One easy way to incorporate sparkle is by applying a glitter top coat over your favorite pink shade. This method allows you to control the amount of glitter you want, creating a subtle or bold effect.
If you’re feeling creative, you can also mix fine glitter into your nail polish before applying it. Just remember to shake it well to distribute the sparkles evenly!
Don’t forget to seal your glittery masterpiece with a good top coat. This not only enhances the shine but also protects your nails from chipping.
Plus, it gives your nails a smooth finish, keeping them looking fabulous. So, get ready to shine bright this winter with your stunning pink nails, and watch as everyone admires your dazzling style!
Seasonal Patterns and Designs
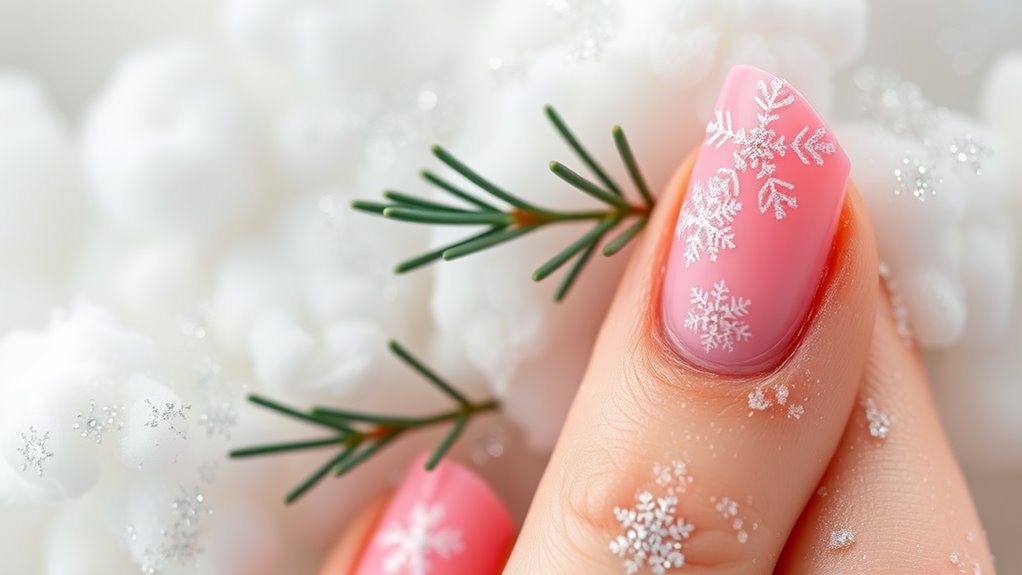
There’s something magical about incorporating seasonal patterns and designs into your pink nails for winter. With a touch of creativity, you can easily blend classic pink shades with fun winter motifs.
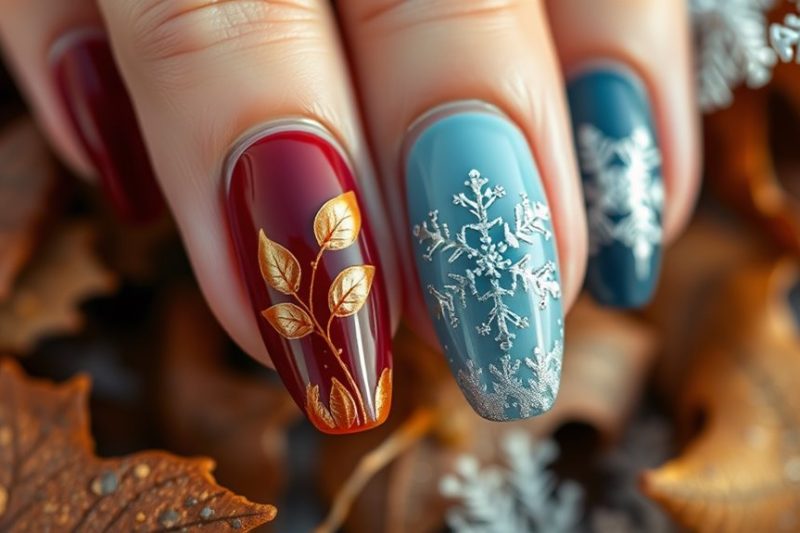
Think snowflakes, cozy mittens, or even tiny Christmas trees! These designs not only add character to your nails but also bring a festive vibe to your overall look.
One way to start is by painting your nails in a soft blush pink, then adding white snowflakes on top. You can use a thin brush or a dotting tool for precision.
If you’re feeling adventurous, try a gradient effect, blending a darker pink with a lighter shade for a beautiful ombre.
Another fun idea is to create a striped pattern using pink and white, resembling candy canes. This design pairs perfectly with the winter season, giving you an adorable yet chic style.
Don’t forget to experiment with different nail shapes too! Almond and stiletto shapes can really enhance your seasonal designs.
By mixing these patterns with your favorite pinks, you’ll have nails that aren’t just pretty but also perfectly themed for winter celebrations!
Tips for Long-Lasting Manicures
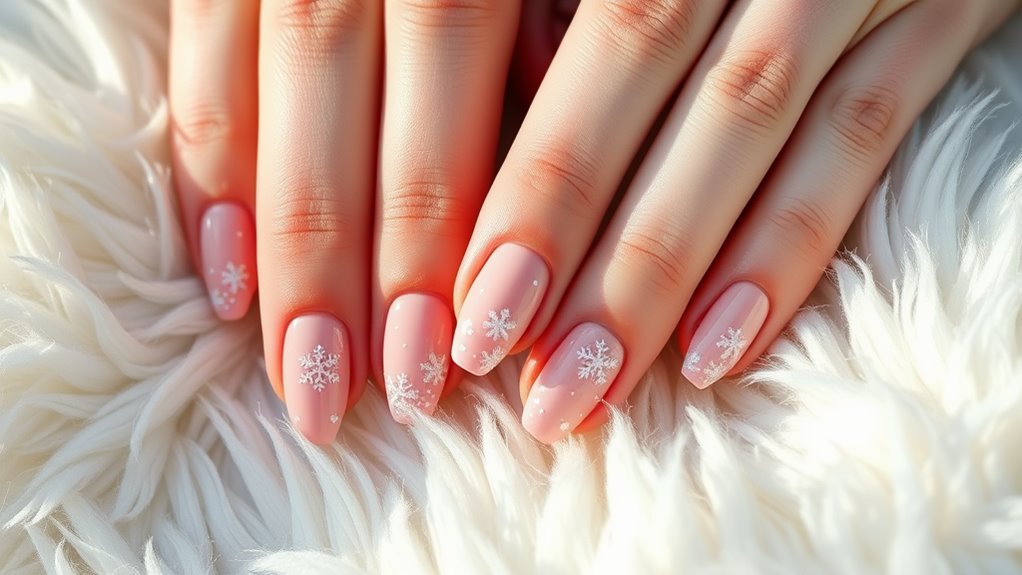
To keep your winter-themed pink nails looking fresh and vibrant, it’s important to focus on tips for long-lasting manicures.
First, always start with clean, dry nails. Remove any old polish and push back your cuticles to create a smooth surface. Next, apply a good quality base coat; this not only protects your nails but also helps the polish adhere better.
When choosing your pink polish, go for high-quality brands, as they tend to last longer. Apply thin layers of polish, allowing each coat to dry completely before adding another. This technique prevents bubbling and helps your color stay intact.
Don’t forget to seal the deal with a top coat! A clear top coat adds shine and protects against chips. Reapply it every few days to keep your manicure looking fresh.
Lastly, be mindful of your daily activities. Wearing gloves while doing chores can protect your nails from wear and tear.

