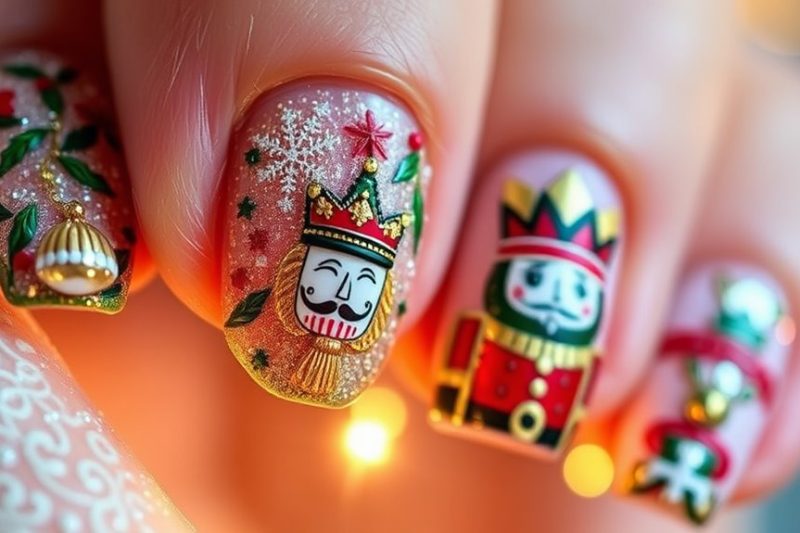
Nutcracker Nails: Bring the Holiday Magic to Your Nails
Nutcracker nails bring the joyful spirit of the holidays right to your fingertips! You can draw inspiration from vibrant Nutcracker colors like deep reds, greens, and sparkling golds. Start your design with a base coat for protection, then paint festive colors. Use nail art brushes to create fun shapes like candy canes or snowflakes. Don’t forget a top coat for a glossy finish! For perfect results, keep your nails clean and well-shaped. Share your beautiful creations on social media and celebrate with friends. Want to discover tips and ideas for stunning designs? Keep exploring the holiday magic!
Inspiration From the Nutcracker
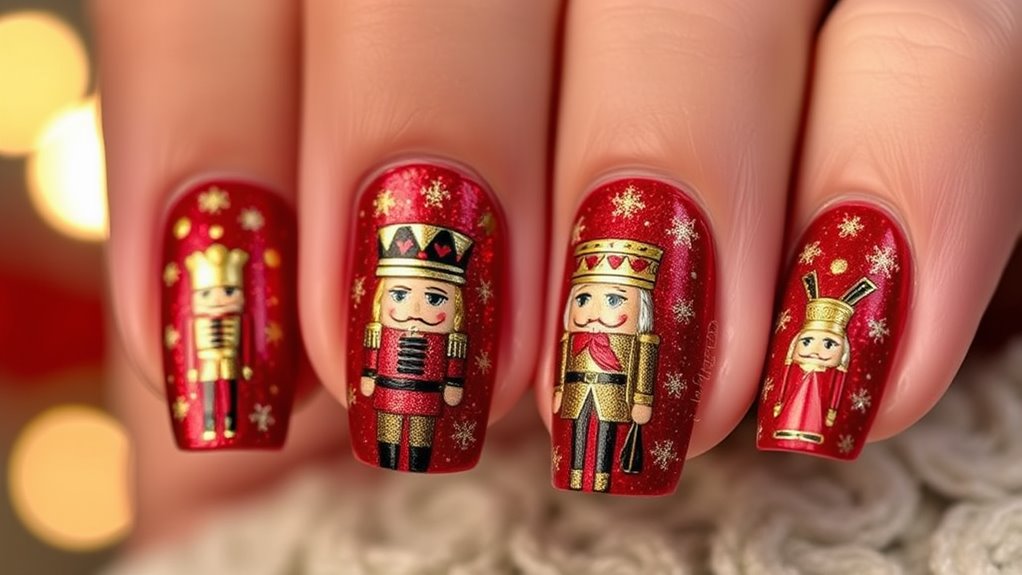
What inspires you when you think of the Nutcracker? This timeless ballet, with its enchanting story and vibrant characters, offers a wealth of creative ideas for your nail art.
Picture the iconic Nutcracker soldier, with his bright colors and bold patterns. You can draw from his striking uniform to create intricate designs on your nails. Think about using deep reds, golds, and greens to capture the holiday spirit.
The Sugar Plum Fairy, another key character, adds a whimsical touch. You might envision soft pastels and sparkly accents to reflect her magical essence. Consider incorporating delicate snowflakes or twinkling stars to evoke the dreamy atmosphere of the ballet.
Don’t forget about the beautiful scenery, too! The Nutcracker transports you to a world filled with candy canes, gingerbread houses, and glittering lights.
These elements can inspire playful nail art that captures the joy of the season.
Essential Nail Art Supplies
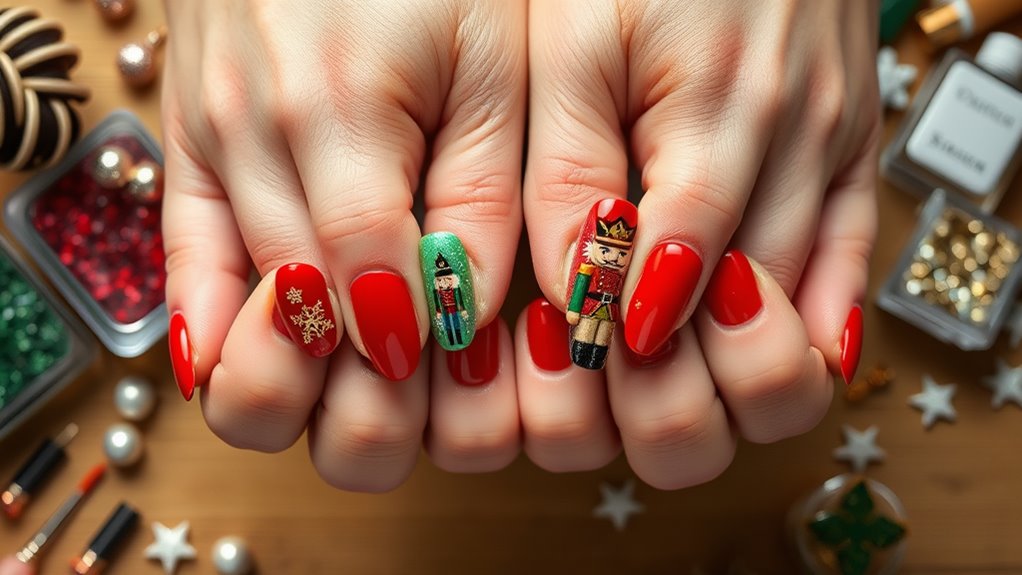
To create stunning Nutcracker-inspired nail art, you’ll need a few essential supplies. First, grab a good quality base coat to protect your nails. This step is crucial, as it helps prevent discoloration and adds longevity to your design.
Next, pick up some vibrant nail polishes in colors like red, green, gold, and white—these shades will capture the holiday spirit perfectly. You’ll also want a top coat to seal your art and give it that glossy finish.
Don’t forget nail art brushes or dotting tools; they’ll help you create intricate designs like snowflakes or nutcracker figures. Nail tape can also be handy for making clean lines and patterns, ensuring your designs look polished and professional.
For added flair, consider using nail gems or glitter to sprinkle some holiday magic onto your nails. Finally, a clean-up brush and acetone are essential for correcting any mistakes and keeping your nails looking tidy.
With these supplies, you’re all set to bring the Nutcracker theme to life on your nails. Happy nail painting!
Step-by-Step Nail Art Tutorials
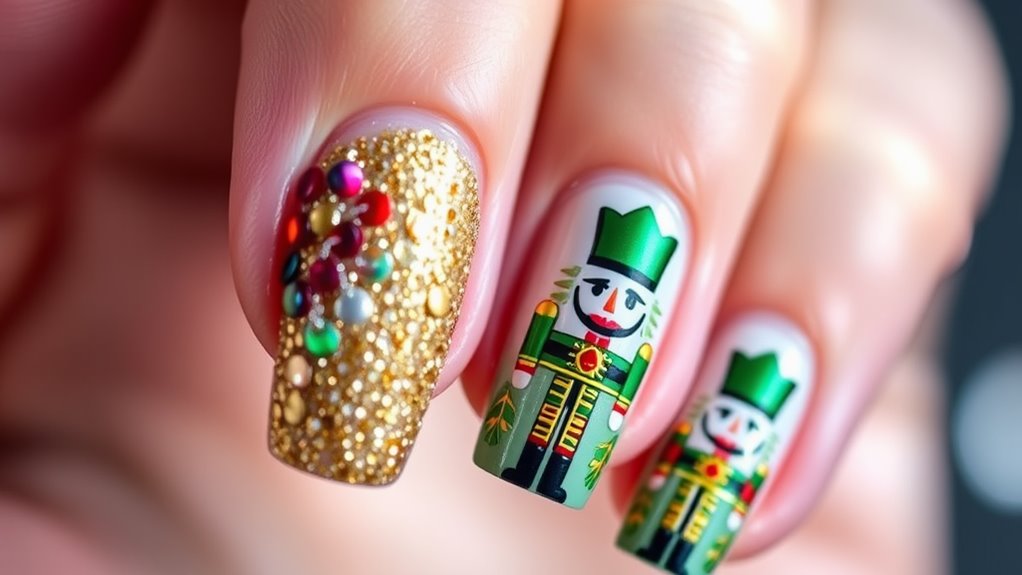
Creating Nutcracker-inspired nail art is easier than you might think, and with a little guidance, you’ll be able to achieve stunning results.
Start by painting your nails with a base coat to protect them, then choose a festive color like rich red or glittery gold. Once that’s dry, grab a thin nail art brush and white polish to create the Nutcracker’s face on an accent nail.
Begin with a rounded shape for the head, and add two smaller circles for the eyes. For the mouth, draw a small curved line. Next, you can add details like a mustache or a crown using black and gold polish.
On your other nails, try painting candy canes or snowflakes for a cohesive holiday look. Use simple shapes, as they’re easy to master. For the candy cane, alternate red and white stripes.
Once you’re satisfied with your designs, seal everything in with a top coat for a glossy finish.
Let your creativity shine, and don’t hesitate to mix and match designs! With practice, you’ll have enchanting Nutcracker nails that spread holiday cheer wherever you go.
Tips for Perfecting Your Design
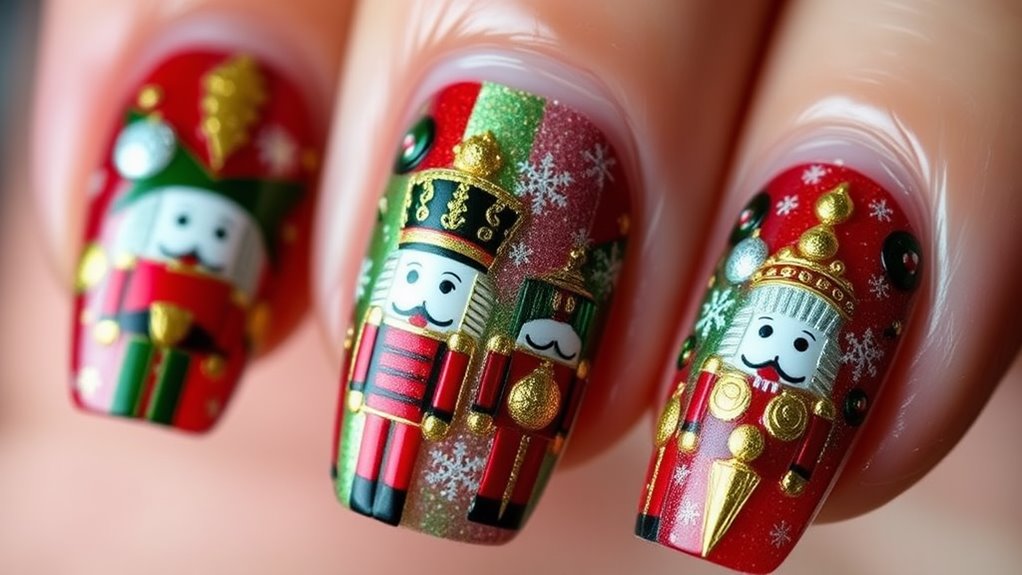
Perfecting your Nutcracker nail design takes a bit of practice and attention to detail. Start by choosing a color palette that captures the holiday spirit; think rich reds, golds, and greens.
Before you begin, make sure your nails are clean and well-shaped. A smooth base will help your design stand out beautifully.
When applying your base coat, be generous but not too thick. Allow it to dry completely to avoid smudging your design later. Use thin brushes or dotting tools for intricate details like the Nutcracker’s face or festive ornaments. It’s okay if you make mistakes—just have some nail polish remover on hand to fix any errors.
Layering colors can create depth, so don’t hesitate to experiment. Try using a top coat for a glossy finish; it’ll enhance your design and help it last longer.
Remember, practice makes perfect! If you’re feeling nervous, practice on a piece of paper first.
Lastly, don’t forget to take breaks; staring at your design for too long can lead to mistakes. With a little patience and creativity, you’ll have stunning Nutcracker nails ready for the holiday season!
Showcasing Your Nutcracker Nails
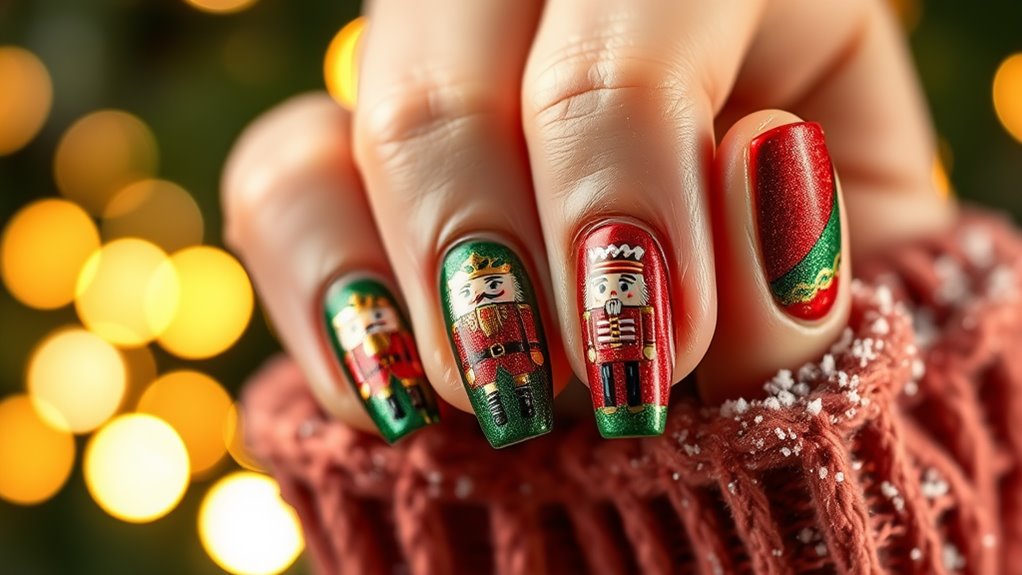
Once you’ve crafted your stunning Nutcracker nails, it’s time to show them off! You’ve put in the effort, and now it’s your moment to shine. Start by snapping some photos in natural light; this helps highlight the vibrant colors and intricate designs.
Try different angles to capture all the details—maybe even a close-up to showcase those tiny nutcracker faces.
When you’re ready to share, consider posting on social media. Use hashtags like #NutcrackerNails or #HolidayNailArt to connect with others who love festive designs.
You could even host a mini nail art party with friends to flaunt your creations together. Everyone loves a good holiday theme!
While out and about, don’t hesitate to let your hands do the talking. Wave hello, and you might just start a conversation about your fabulous nails. You could inspire someone else to try their hand at Nutcracker nails!
Lastly, remember to keep your nails looking fresh. A quick top coat can enhance the shine and protect your masterpiece.
Enjoy the compliments, and let your creativity spread holiday cheer wherever you go!

