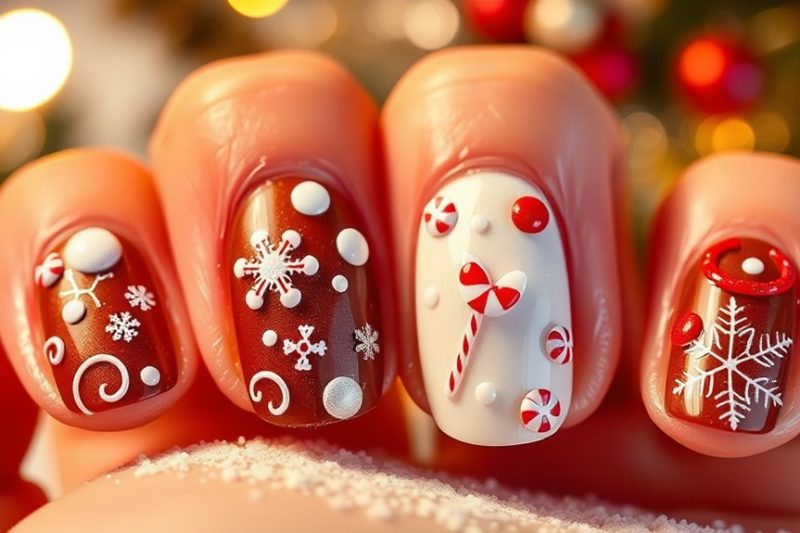
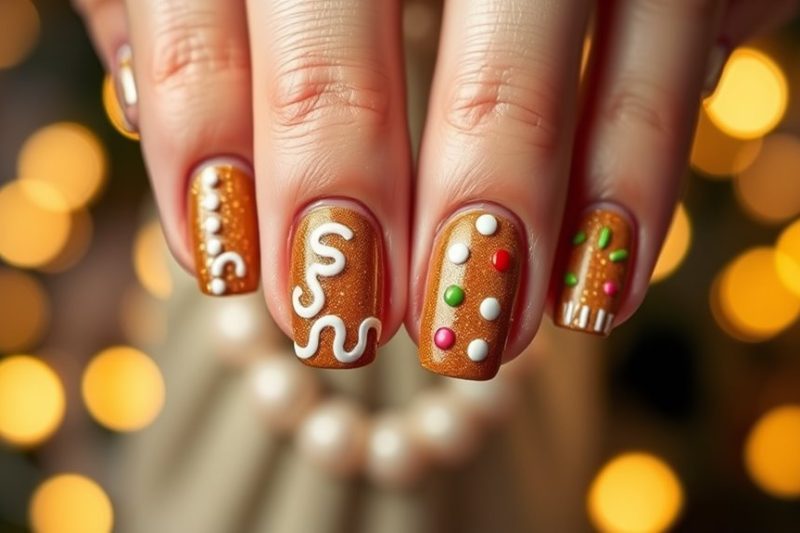
Gingerbread-Inspired Holiday Nails: Sweet Seasonal Fun
Gingerbread-inspired holiday nails are a fun way to add some festive cheer to your look! Start with warm brown polish for a gingerbread base, then use white polish to create icing effects. You can make tiny candy designs with dotting tools, or even add rhinestones for a bit of sparkle. Don’t forget to apply a base coat first to protect your nails and ensure the colors pop beautifully. Finish with a glossy topcoat for a polished look, or use matte for a cozy feel. There’s so much more to explore, so keep that creativity flowing!
Essential Tools and Materials
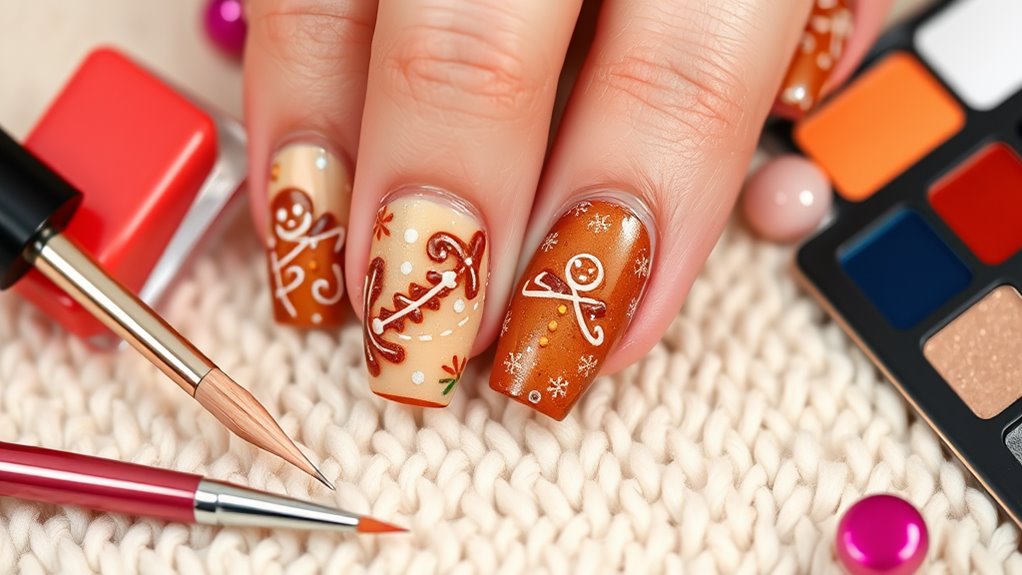
To create stunning gingerbread-inspired holiday nails, you’ll need a few essential tools and materials. First, gather your nail polish in warm, rich colors like brown, cream, and red. These shades will mimic the look of gingerbread and festive decorations.
Next, grab a base coat and a topcoat to ensure your design lasts longer and shines brightly. You’ll also need nail art brushes for precise detailing. These brushes will help you create intricate designs, such as icing patterns or tiny candy decorations.
Don’t forget about dotting tools; they’re perfect for adding those adorable little dots that resemble sprinkles. A good pair of nail clippers and a file will help shape your nails just right.
If you’re feeling adventurous, consider using nail stickers or nail tape to create straight lines and fun patterns without the hassle. Lastly, a small palette or a piece of foil will come in handy for mixing colors or creating custom shades.
With these tools and materials at your side, you’re all set to unleash your creativity and bring the festive spirit to your nails. Get ready to impress everyone with your gingerbread-inspired designs!
Base Coat Application

Before you start painting your gingerbread-inspired designs, applying a base coat is key. This step helps protect your natural nails from staining and enhances the longevity of your nail art. A good base coat creates a smooth surface for your polish, ensuring even application and preventing chipping.
To apply the base coat, first, make sure your nails are clean and dry. If you haven’t already, push back your cuticles gently and remove any old polish.
Now, take your base coat and apply a thin layer to each nail, starting from the base and moving toward the tip. It’s best to use three strokes: one down the center and one on each side. Don’t worry if it looks a little uneven at first; that’s what the next coat is for!
Allow the base coat to dry completely before moving on to your gingerbread designs. This usually takes just a few minutes, but it’s worth the wait.
A solid base will make your holiday nail art pop and stay vibrant throughout the season. Trust me, your gingerbread nails will thank you for this important step!
Gingerbread Nail Design Techniques

Gingerbread nail design techniques can transform your manicure into a festive masterpiece. Start by choosing a warm, gingerbread-like base color, such as a rich brown or caramel. This will serve as the perfect foundation for your holiday theme.
Once your base coat is dry, you can use a fine brush or a dotting tool for intricate designs. Think about creating a gingerbread house effect by painting small shapes like doors, windows, and even a roof. You can add snowy white frosting accents using a white nail polish or nail art pen.
Don’t forget to include candy-like decorations! Use vibrant colors like red, green, and blue to mimic gumdrops or candy canes. For an extra touch, consider using a matte top coat on your brown base to create a textured, cookie-like finish.
If you’re feeling adventurous, try layering tiny gingerbread men or simple holiday patterns, which can bring your nail art to life. The key is to have fun and let your creativity shine. So gather your tools, and get ready to wow everyone with your gingerbread-inspired nails this holiday season!
Adding Sweet Details
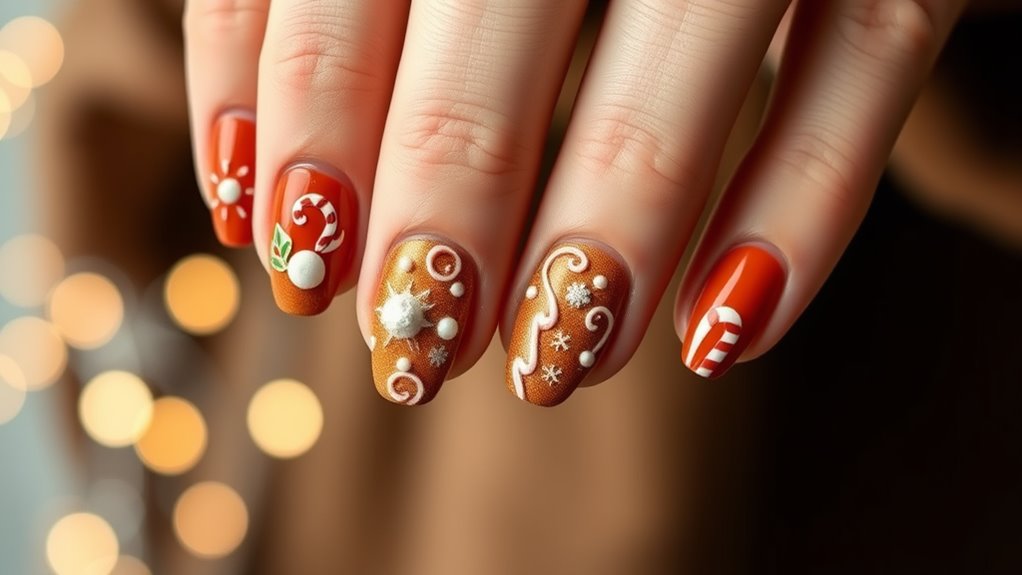
Adding sweet details to your gingerbread-inspired nails can elevate your festive design to a whole new level. Think about incorporating tiny accents that mimic the treats we love during the holidays. You can use nail art pens or fine brushes to draw little candies, gumdrops, and even icing swirls. These elements can bring your gingerbread theme to life in a fun way.
Don’t forget about textures! Adding a matte topcoat to your base color can give a cozy, cookie-like finish. You can also use a glossy topcoat on your sweet details to create a mouthwatering contrast.
If you’re feeling adventurous, consider adding some 3D elements like tiny rhinestones or beads to represent sprinkles. They’ll add sparkle and catch the light beautifully.
Another great idea is to mix different finishes. You can combine matte and glossy polishes for a more dynamic look. Plus, don’t shy away from using nail stickers or decals; they’re a quick and easy way to add more detail without much effort.
With these sweet touches, your gingerbread-inspired nails will surely stand out and spread holiday cheer wherever you go!
Color Palette Inspiration
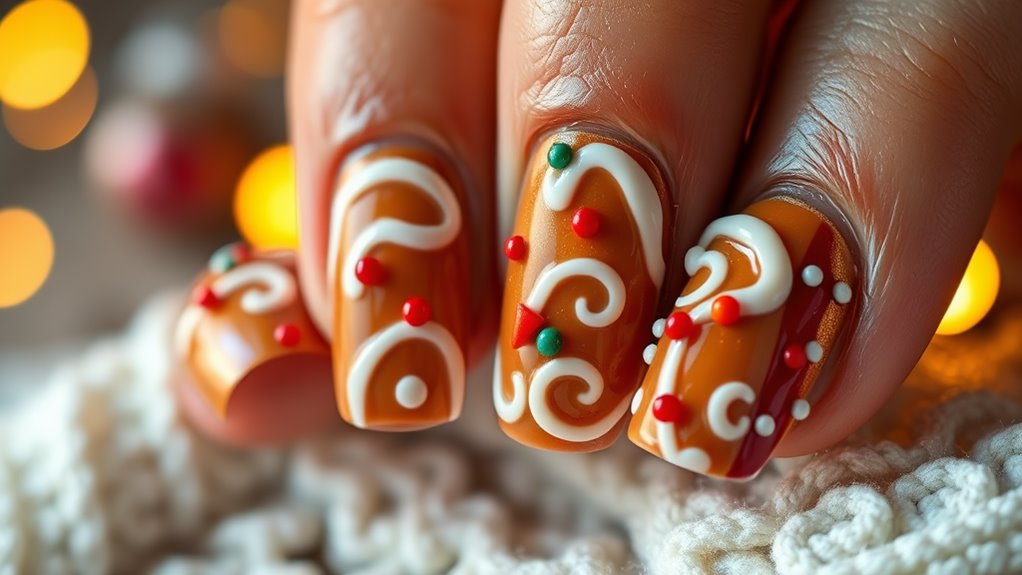
To create the perfect gingerbread-inspired nail design, choosing the right color palette is key. Think about the warm, cozy tones you associate with gingerbread houses.
Begin with a rich, warm brown as your base color, reminiscent of freshly baked gingerbread cookies. This color sets the stage for your delicious design.
Next, consider adding accents with creamy whites and soft pastels. A light beige or off-white can mimic the look of icing, while shades like mint green or soft pink can evoke the sweetness of holiday candies.
These colors will create a lovely contrast against the brown, making your nails pop.
Don’t forget about festive glitter! A touch of gold or silver can add a touch of sparkle, resembling sugar decorations on your gingerbread treats.
You might also explore deeper reds or greens for an additional pop of holiday spirit.
Top Coat Finishing Touches
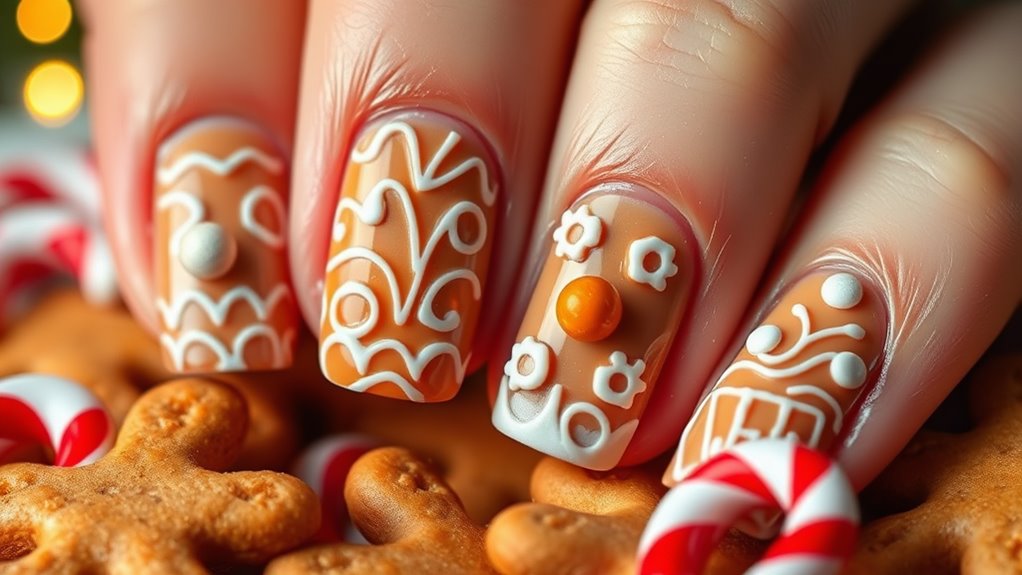
A great top coat can elevate your gingerbread-inspired nail design to the next level. It not only adds that glossy finish, but it also helps protect your artwork from chips and scratches.
When choosing a top coat, look for one that’s quick-drying. You don’t want to wait forever before you can show off your festive nails!
You can also opt for a matte top coat if you’re aiming for a more subtle look. This can give your gingerbread nails a unique twist, making the colors pop in a different way.
If you want to take it a step further, consider adding a glitter top coat. A sprinkle of sparkle can mimic the look of sugar on your gingerbread cookies, adding a fun and festive vibe.
Don’t forget to apply your top coat carefully! Start in the middle of the nail and stroke towards the edges. This technique helps prevent flooding the cuticles.
Also, remember to cap the tips of your nails. This simple step seals everything in, enhancing durability.
With the right top coat, your gingerbread nails will shine bright throughout the holiday season!
Caring for Your Holiday Nails
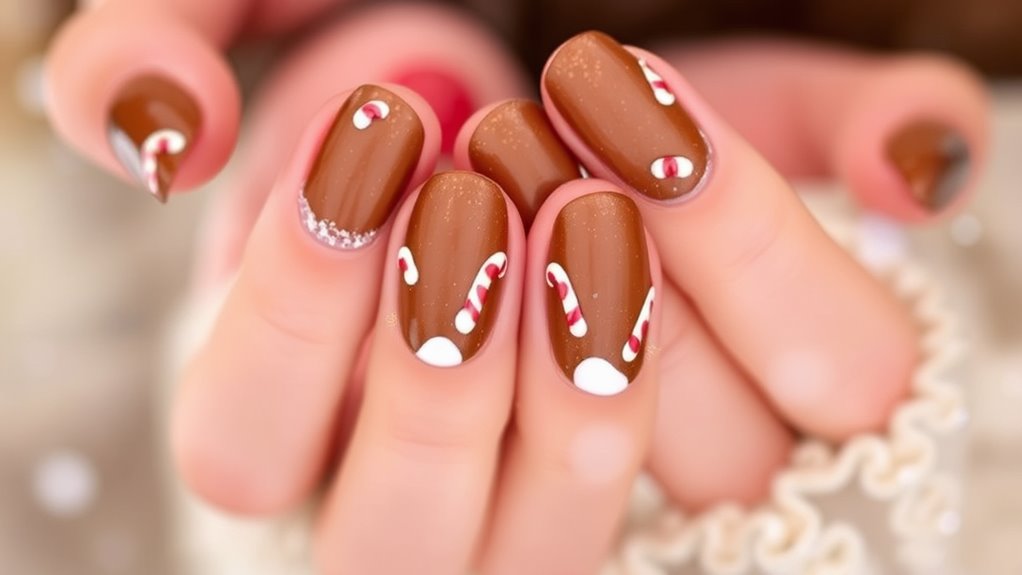
Maintaining your holiday nails is essential for keeping them looking fresh and festive throughout the season. Start by keeping your nails clean and dry, washing your hands regularly, and avoiding harsh soaps that can dry out your skin and nails.
After washing, apply a good moisturizer to keep your cuticles and skin healthy.
To prevent chips and cracks, consider wearing gloves when doing chores or handling harsh chemicals. If you notice any chips, don’t fret! Just use a touch-up polish to fix them up quickly. You can also reapply a top coat every few days to maintain that shiny finish.
When it’s time to remove your polish, be gentle. Use an acetone-free remover to avoid drying out your nails.
Afterward, treat your nails to a nourishing oil or cream to keep them hydrated.
Lastly, give your nails a break from polish every now and then. This allows them to breathe and recover.

