Winter Disney Nail Art: Fun and Festive Designs
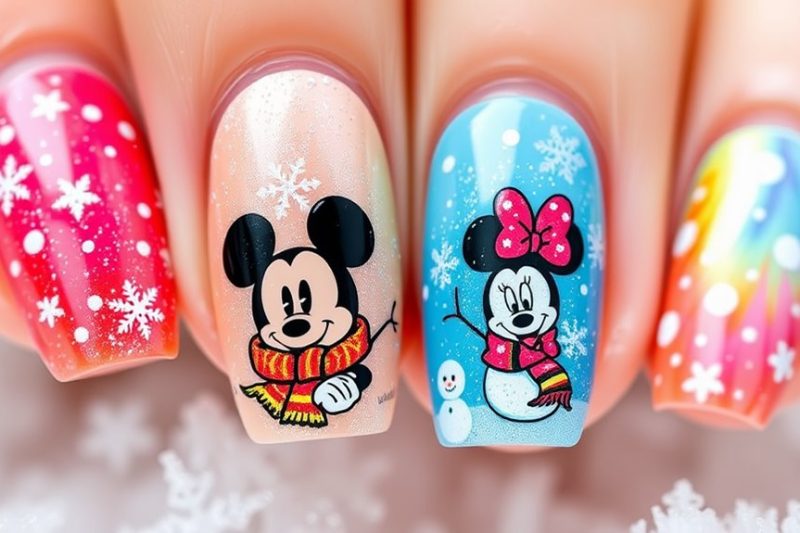
Winter Disney nail art is all about mixing festive fun with your favorite characters! You can start with icy blue polishes for an Elsa-inspired look or add playful designs with Mickey and Minnie in their winter outfits. Consider incorporating snowflakes, glitter, and even quotes from “Frozen” for an extra touch of magic. For added creativity, use nail stickers or hand-paint simple designs to make your nails truly unique. Remember to prep your nails well and seal your artwork with a top coat for durability. Explore more playful ideas and techniques that can elevate your seasonal nail art game!
Magical Disney Characters
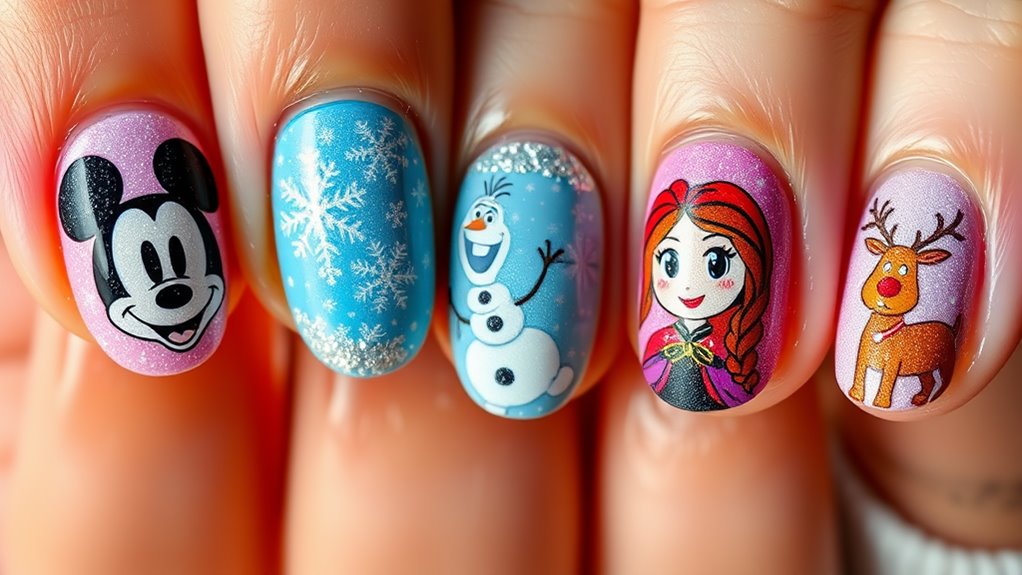
When you think of winter, magical Disney characters often come to mind, bringing warmth and joy to the season. These beloved figures can inspire your nail art, making your manicure a fun winter wonderland. Imagine painting your nails with characters like Elsa from “Frozen,” with her sparkling ice powers, or Olaf, the cheerful snowman who loves hugs. You could even add Anna, with her brave spirit, to create a cozy, magical theme.
Don’t forget about classic characters, too! Mickey and Minnie Mouse, dressed in their winter attire, can add a playful touch to your nails. Or, you might choose to feature characters from “Beauty and the Beast” like Belle, who embodies the spirit of winter romance.
When designing your nail art, think about colors that represent winter, such as icy blues, snowy whites, and glittery silvers. You can use nail stickers or hand-paint your favorite characters for a personal touch.
The possibilities are endless, allowing you to express your creativity while celebrating the magic of Disney this winter. So grab your nail supplies and let your imagination run wild as you create your own enchanting winter Disney nail art!
Snowflake Nail Art Inspiration
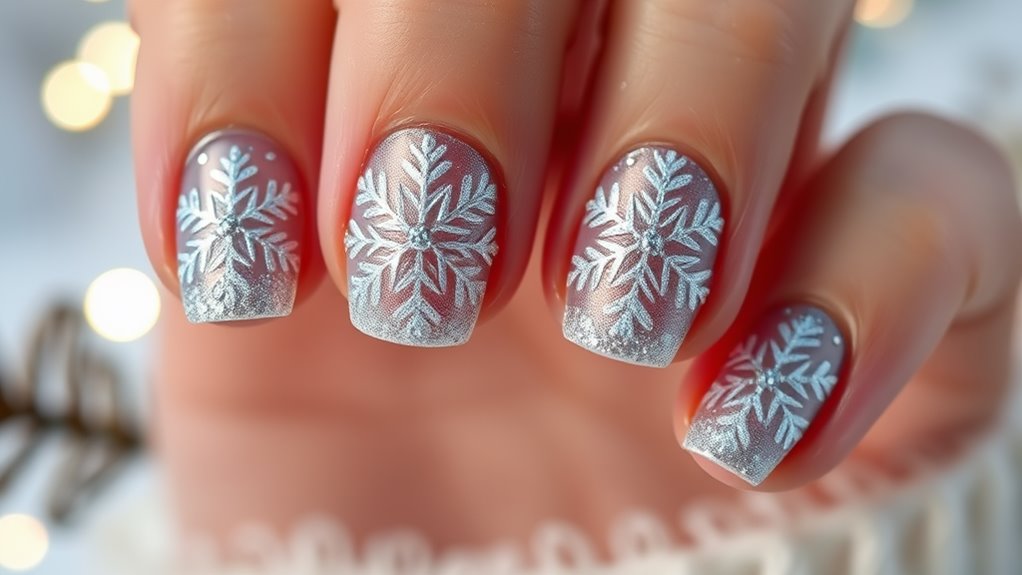
Snowflakes are nature’s delicate artworks, and they make for stunning inspiration for your winter nail art. With their unique shapes and intricate designs, snowflakes can transform your nails into a winter wonderland.
Start by choosing a base color that evokes the season—soft whites, icy blues, or even deep midnight shades can work beautifully.
For the snowflake design, you can use a fine nail brush or nail dotting tools. If you’re feeling adventurous, try a mix of different snowflake patterns on each nail. Imagine how lovely a combination of big, bold snowflakes paired with smaller, detailed ones can look!
You can also add a touch of sparkle by incorporating glitter or using metallic nail polish for the snowflakes, giving your nails a frosty, shimmering effect.
Don’t forget to seal your design with a top coat to make it last longer. If you want to take it a step further, consider adding some tiny rhinestones as accents. They can mimic the glistening ice on a snowy day.
Classic Mickey and Minnie Designs
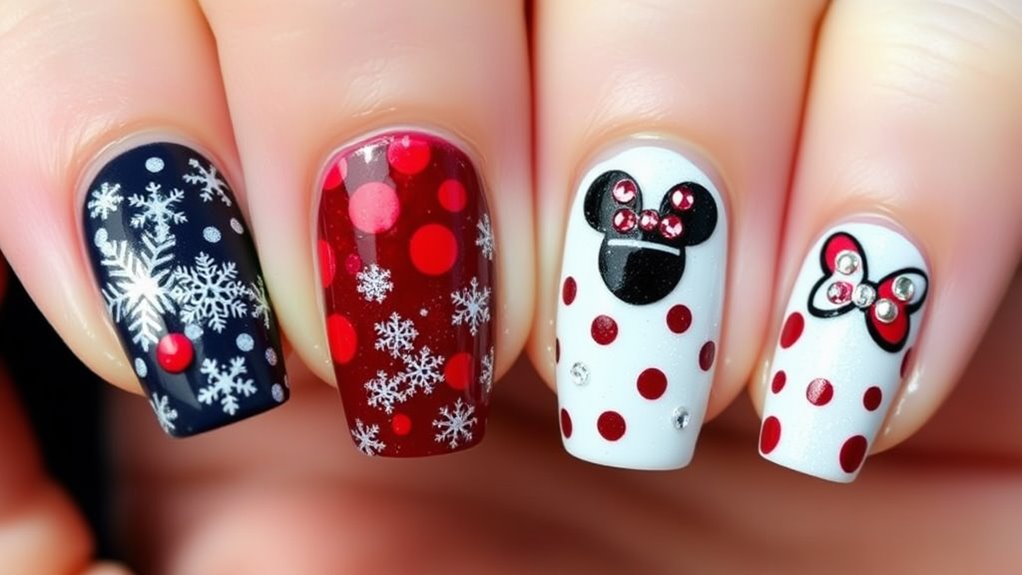
Winter is the perfect time to showcase your love for Disney with classic Mickey and Minnie designs. These timeless characters bring joy and nostalgia, making them ideal for your winter nail art.
To start, you might paint your base color in a festive red or black, reminiscent of Mickey and Minnie’s iconic outfits.
Next, consider adding polka dots in white on one or two nails, giving a playful nod to Minnie’s classic style. You can also create simple Mickey heads by painting black circles on a white background, with tiny ears on top. For a little sparkle, add some glitter to your design, which can mimic the twinkling lights of the holiday season.
If you’re feeling creative, try a split design: one hand featuring Mickey and the other showcasing Minnie. This way, you get to celebrate both characters in a fun way! Using nail stickers or stencils can make the process easier, especially if you’re new to nail art.
With these classic designs, you’ll not only express your Disney spirit but also embrace the festive vibes of winter.
Get ready to show off your magical nails and bring smiles wherever you go!
Frozen-Themed Nail Art Ideas
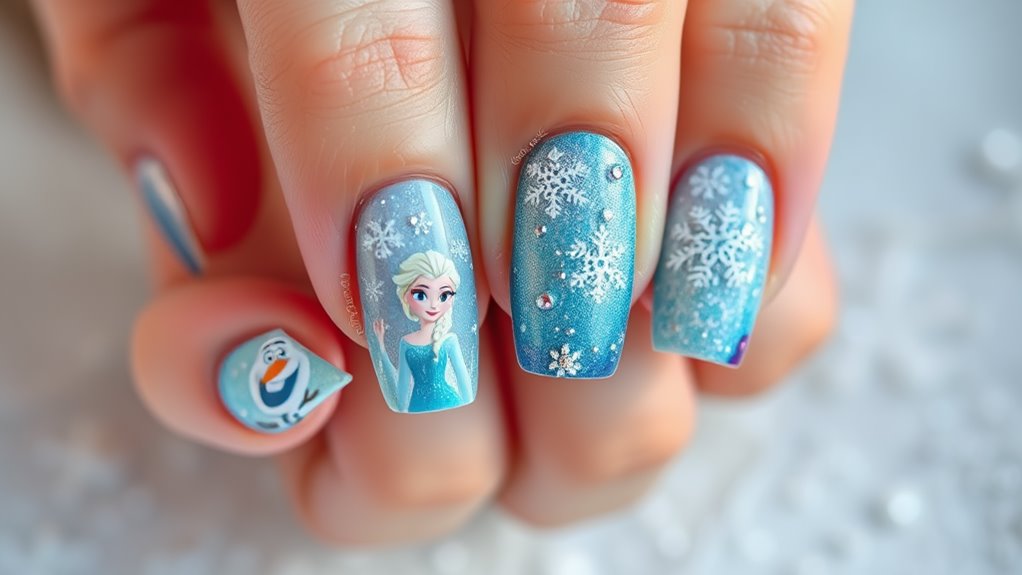
If you’re a fan of Disney’s Frozen, winter is the perfect opportunity to express that love through your nail art. You can create magical designs that reflect the enchanting world of Arendelle. Start with a light blue base to represent Elsa’s ice powers. Then, use a white nail polish to add snowflake patterns. You can either paint them by hand or use snowflake nail stamps for precision.
Another fun idea is to feature Anna and Elsa on your nails. Consider painting one nail for each character, highlighting their distinct outfits. You can use a fine brush to detail their faces or opt for nail decals for an easier approach. Don’t forget to add some glitter topcoat to mimic the sparkling snow!
For a more subtle nod to Frozen, try ombre nails with icy colors transitioning from white to blue. You can add tiny rhinestones at the tips for a touch of glam.
Lastly, incorporate quotes like “Let It Go” or “Love is an Open Door” using nail art pens. With these ideas, you’re sure to celebrate Frozen in style this winter!
Disney Princess Winter Styles
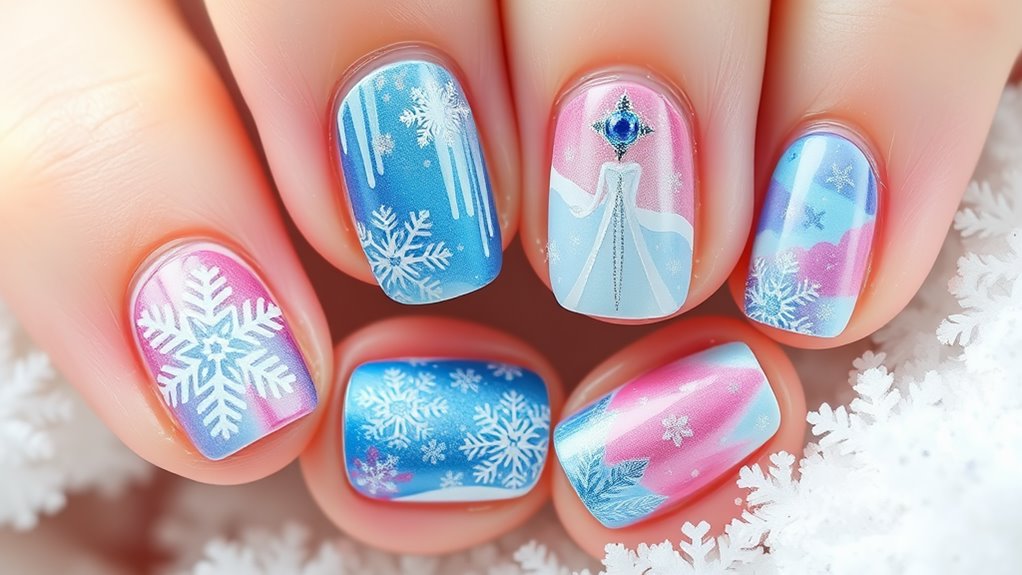
As the icy magic of Frozen inspires your nail art, it’s also a great time to explore Disney Princess styles that embrace the charm of the season.
Think about how you can incorporate colors and themes from beloved princesses like Cinderella, Belle, and Snow White into your winter nail designs.
For Cinderella, consider a soft blue base with shimmering silver accents, resembling her iconic gown and sparkling glass slippers. You could add tiny white stars or even a miniature pumpkin carriage for a whimsical touch.
Belle’s beauty can shine through warm gold and deep yellow tones, perhaps with rose designs inspired by the enchanted rose from Beauty and the Beast.
Snow White’s classic red, yellow, and blue palette is perfect for winter too. You might use a deep blue background with bright red apple designs or golden accents that reflect her cheerful spirit.
Don’t forget to add some glitter for that extra festive flair!
Whimsical Holiday Patterns
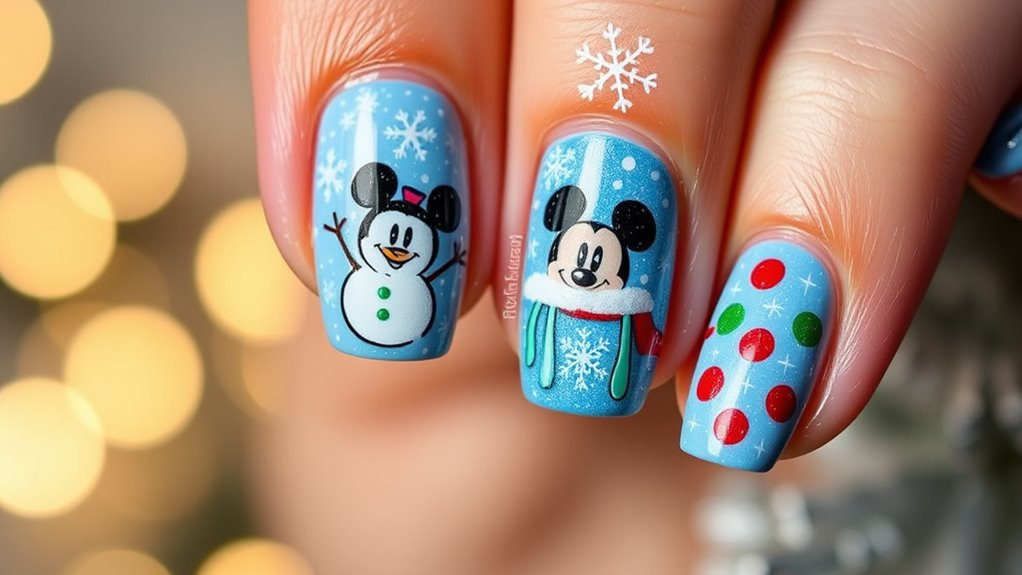
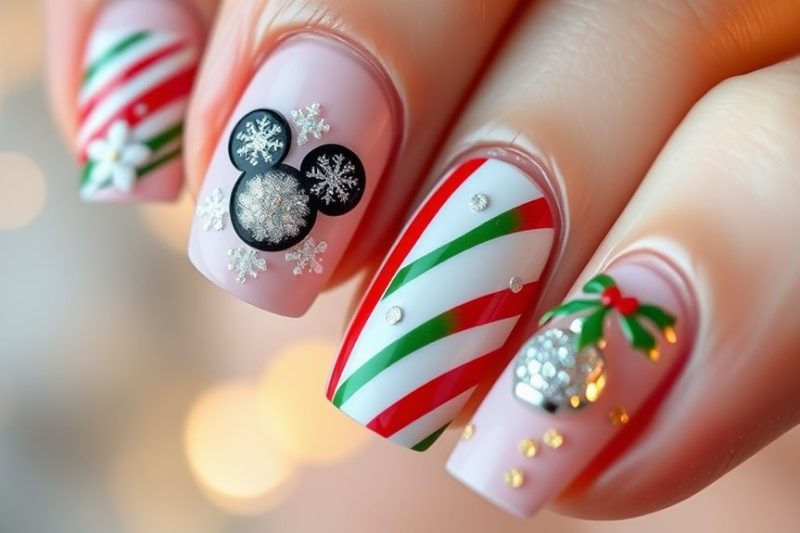
Embrace the spirit of the season with whimsical holiday patterns that add a playful touch to your nail art. You can let your creativity shine by incorporating fun designs inspired by your favorite Disney characters and festive elements. Think of snowflakes, candy canes, Christmas trees, and even cute reindeer!
These patterns can transform your nails into a cheerful celebration of winter.
To get started, pick a color palette that reflects the holiday vibe—reds, greens, and whites work beautifully together. You could create a snowman on one nail, while another showcases a vibrant Santa hat. Don’t forget to add tiny stars or sparkly accents to bring some extra magic to your designs.
Using nail art brushes or dotting tools, you can easily create these patterns. If you’re feeling adventurous, try layering different designs on each hand for an eclectic look. Remember, it’s all about having fun and letting your playful side out!
With whimsical holiday patterns, your nails will be the talk of the town. So grab your polish, roll up your sleeves, and dive into the festive nail art experience that’s sure to spread joy and cheer!
Glitter and Glam for Winter
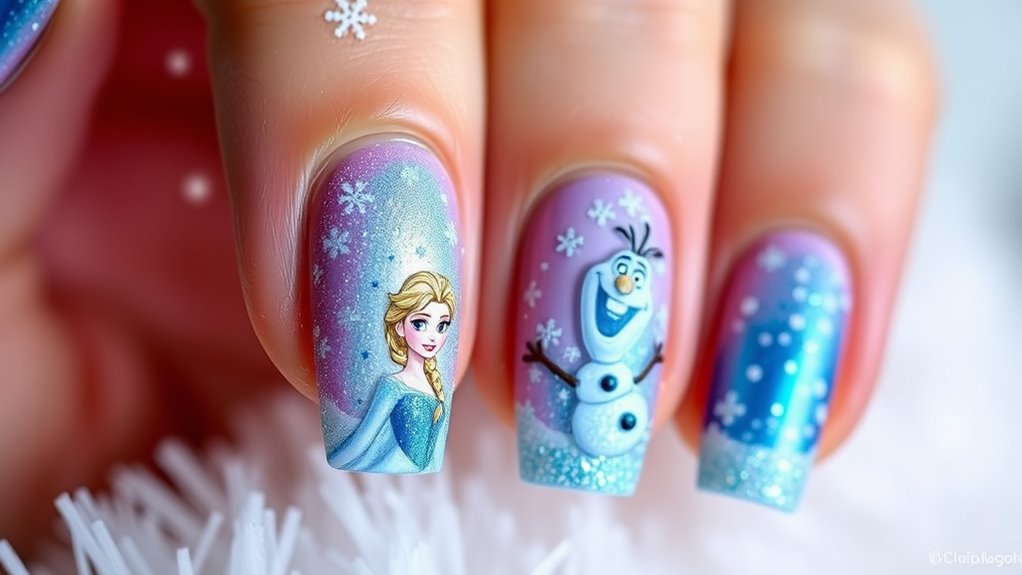
Adding a touch of glitter and glam to your winter nail art can instantly elevate your festive look. Whether you’re attending a holiday party or just enjoying the winter season, sparkly nails can make a big statement.
Start by selecting a glitter polish that complements your base color. Silver, gold, and icy blues are perfect choices for winter vibes!
You can create a gradient effect by applying a solid color first and then adding glitter to the tips. This technique gives your nails a chic, frosted look. If you want to go all out, consider layering different types of glitter. Chunky glitters can add extra flair, while fine glitters create a smoother appearance.
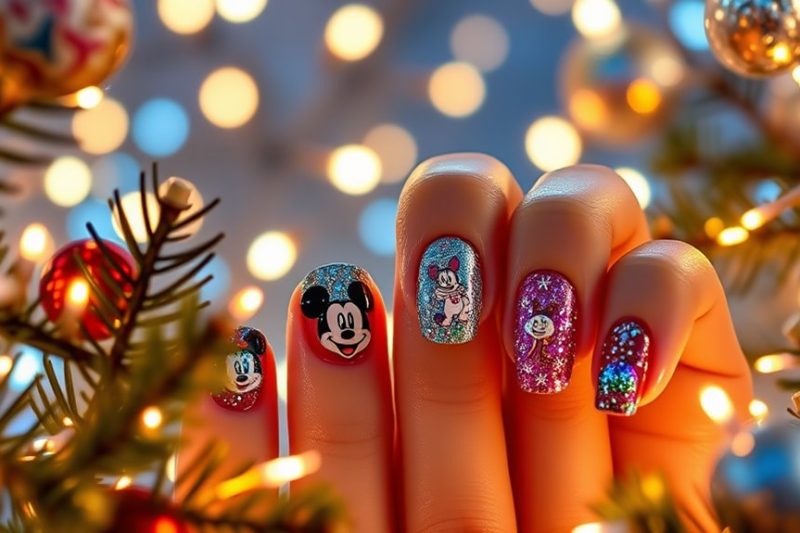
Don’t forget to incorporate Disney themes! Think about adding little Mickey Mouse heads or snowflakes using glitter polish. You could even use nail stickers for added detail.
Remember, the key is to have fun and let your creativity shine.
Once you’ve perfected your design, seal it with a clear topcoat for a long-lasting, glossy finish. With these glittery ideas, your winter nails will sparkle and shine, making them the talk of the town!
Tips for Nail Art Application
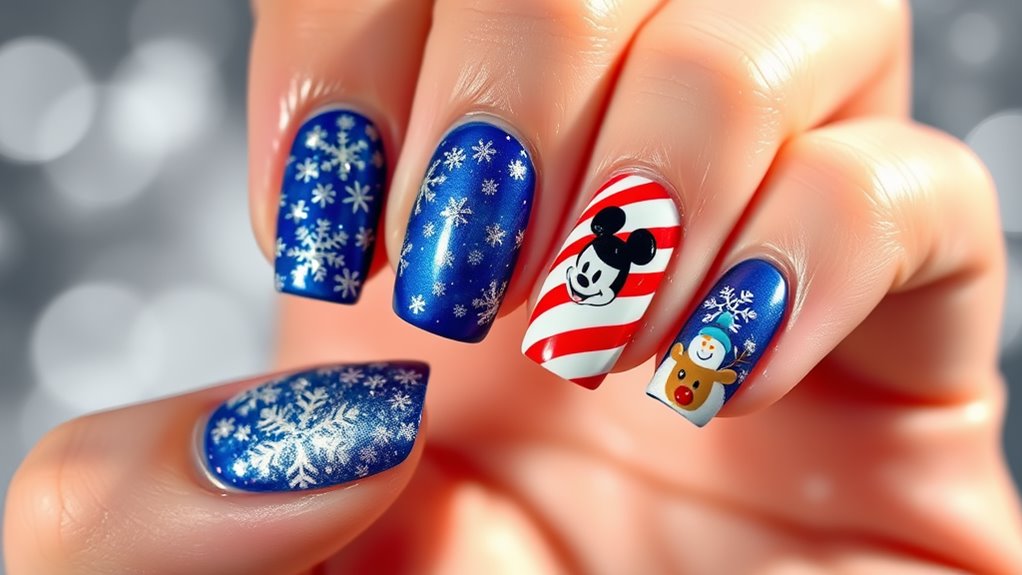
Nail art application can be a delightful experience when you follow a few essential tips. First, prep your nails by cleaning and filing them. This step helps the polish adhere better and makes your design look polished.
Don’t skip the base coat; it protects your nails and enhances color vibrancy.
Next, choose high-quality nail polishes for the best results. When applying color, use thin layers and let each coat dry completely before adding the next. This prevents smudging and ensures an even finish.
If you’re using nail art tools, like dotting pens or brushes, practice on a piece of paper first to get comfortable with your technique.
For designs, keep it simple if you’re just starting out. Think about using stickers or stencils for fun Disney-themed accents.
Once you’ve finished your masterpiece, seal it with a top coat to add shine and longevity.
Lastly, don’t forget to clean up any mistakes around your nails with a small brush dipped in nail polish remover.
