Enchanted Rose: Red Nail Art for a Romantic Holiday
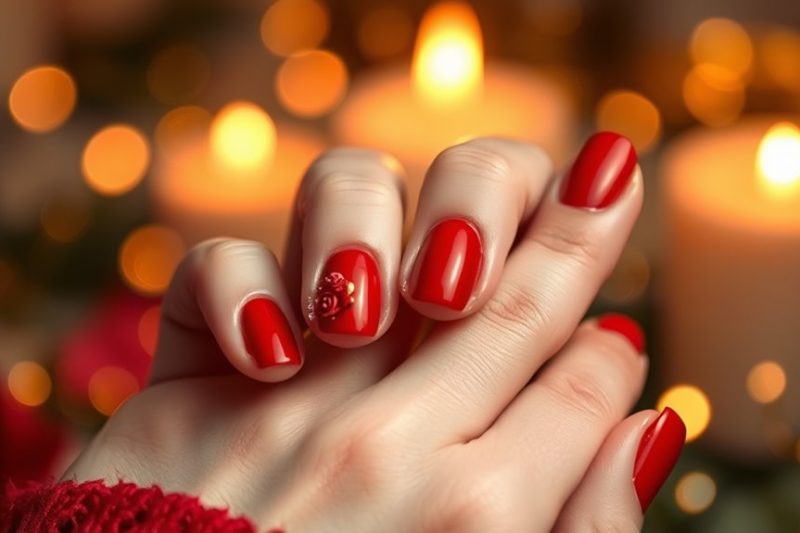
For a romantic holiday, red nail art inspired by the enchanted rose combines elegance and allure. Start with a rich crimson base to capture that passionate essence. You can try classic red designs or add tiny rose decals for a whimsical touch. If you’re feeling creative, use a dotting tool to create delicate floral patterns. Adding a glossy top coat can enhance the shine, while glitter can elevate your look with a touch of glam. Remember, preparing your nails with a good base coat is key for lasting results. Stick around, and you’ll discover more tips to perfect your romantic nail art!
Inspiration From the Enchanted Rose

When you think of romance, the image of an enchanted rose often comes to mind, invoking feelings of love and magic. This beautiful flower symbolizes passion, beauty, and the delicate nature of love.
You can draw inspiration from the enchanted rose when creating your red nail art for a romantic holiday. Think about the rich, velvety red hues that capture the essence of this flower.
Consider using a deep crimson as your base color, representing the heart of the rose. You might also layer on lighter shades or even a shimmery finish to mimic the delicate petals.
To add a whimsical touch, think about incorporating floral designs or tiny rose decals. These details can transform your nails into art, reflecting the enchantment of the rose itself.
Additionally, don’t forget about texture! Using matte finishes or glossy topcoats can enhance the overall look.
As you design, remember that your nails are a canvas for expressing your romantic spirit. Let the enchanted rose guide your creativity, and you’ll surely create stunning nail art that captures the magic of love this holiday season.
Classic Red Nail Designs

Classic red nail designs never go out of style, making them a perfect choice for a romantic holiday. Whether you’re planning a cozy dinner or a fun night out, nothing says timeless elegance quite like red nails.
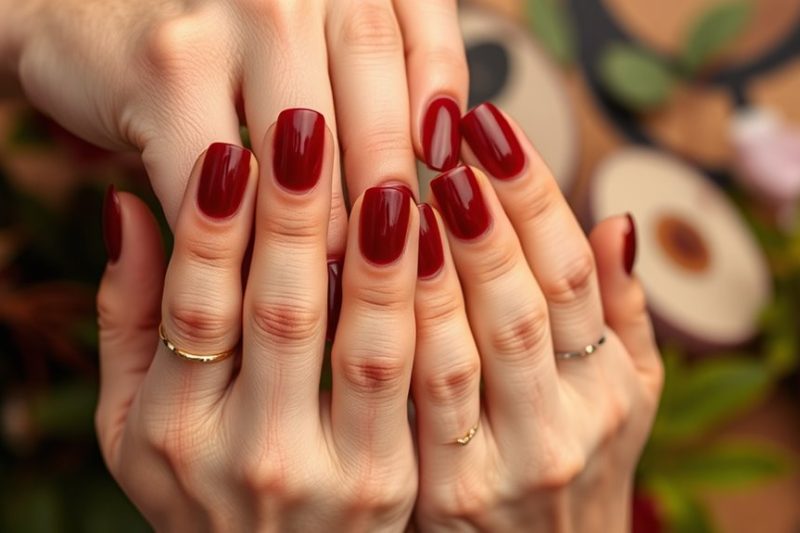
You can opt for a classic, solid red polish for a sleek and sophisticated look. This simple design works well with any outfit and radiates confidence.
If you’re feeling a bit adventurous, try adding some classic French tips with a red twist. Instead of the usual white, paint the tips of your nails a vibrant red for a fun twist on the traditional style.
You could also consider a glossy finish that catches the light beautifully, enhancing the bold color.
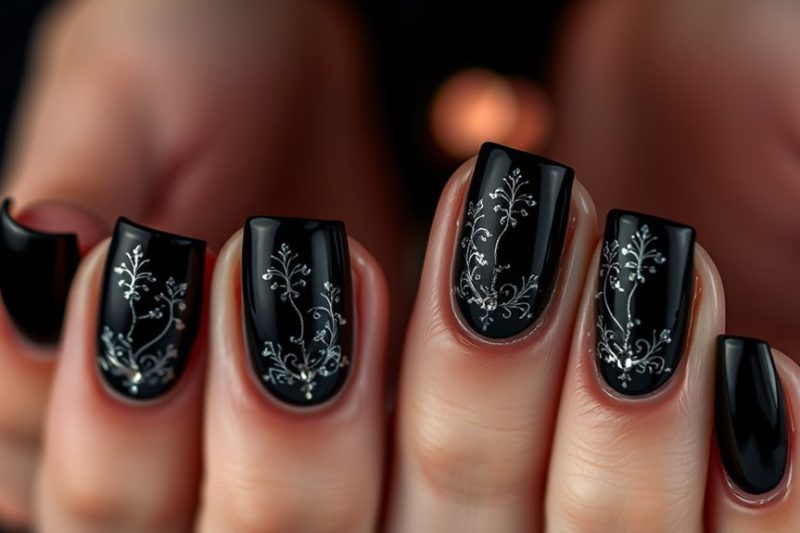
For a more playful design, how about using a red base with gold or silver accents? Adding a metallic stripe or dot can elevate your look and add a touch of glamour.
Remember, the key to classic red nail designs is to keep them chic and elegant, so choose the elements that resonate most with your personal style.
Embrace the beauty of red nails this holiday, and you’ll surely turn heads wherever you go!
Floral Nail Art Techniques

Floral nail art techniques bring a fresh and romantic vibe to your holiday look. You can create beautiful designs that celebrate the season and express your personality. Start with a base color, like a classic red, to set the perfect backdrop for your floral masterpiece.
One popular technique is the dotting tool method. Simply dip the tool into nail polish and create small dots to form flower petals. You can use different colors for a more vibrant design.
Another technique is the brush stroke method, where a fine brush helps you paint delicate flowers directly onto your nails. Don’t be afraid to mix and match colors for added depth!
If you’re feeling adventurous, try the water marble technique. This involves swirling nail polish on the surface of water and dipping your nails in to create intricate floral patterns. It’s a bit tricky, but the results are stunning!
Finally, using nail stickers or decals can also make your floral designs pop with ease. Just apply them to your nails after your base coat has dried.
With these techniques, you’ll have gorgeous floral nails that are sure to impress this holiday season!
Glitter and Glamour

For those looking to add a touch of sparkle to their holiday nails, glitter and glamour are the perfect combination. You can easily elevate your red nail art by incorporating shimmering accents that catch the light and draw attention.
Start with a bold red base coat to set the stage, and then add glitter polish or loose glitter for that dazzling effect. Consider using a fine glitter for a subtle sparkle or chunky glitter for a more dramatic look. You might want to apply the glitter at the tips for an ombre effect, or create a full glitter nail for a bolder statement.
Don’t forget to seal your design with a top coat; this not only protects your art but also enhances the shine.
If you’re feeling adventurous, try layering different shades of red with various glitters. This adds depth and dimension to your nails, making them truly eye-catching.
Heart Motifs for Romance

While adding heart motifs to your red nail art, you can instantly create a romantic vibe perfect for the holiday season. Hearts are a classic symbol of love, and incorporating them into your nail design can make your look feel extra special. You can choose to paint small hearts on a few accent nails or create a heart pattern across all your fingers. Either way, your nails will radiate affection.
To get started, you’ll need a few tools. A fine nail brush or dotting tool can help you create precise heart shapes. You can also use nail stickers for a quick and easy option.
Don’t forget to use a base coat before applying your red polish. This will help your design stand out and last longer.
Consider mixing different shades of red or even adding white to create contrast. You could even try a gradient effect where hearts fade from bright red to a softer hue.
Whether you’re going for a simple look or something more elaborate, heart motifs can elevate your nail art to a romantic masterpiece. So, get creative and let your nails express your love this holiday season!
Tips for Long-Lasting Manicure

To ensure your manicure lasts as long as possible, start by properly preparing your nails.
Begin by removing any old polish, then gently file your nails to your desired shape. Buff the surface to smooth out any ridges, and don’t forget to push back your cuticles. Clean nails are crucial for a lasting finish!
Next, apply a base coat. This step not only protects your nails but also helps the polish adhere better.
Choose a high-quality nail polish and apply it in thin layers, allowing each coat to dry before adding the next. Usually, two to three coats work best for a vibrant color.
Once you’re happy with the polish, seal it with a top coat. This adds shine and protects against chips.
Make sure to reapply the top coat every few days for extra durability. Also, try to avoid soaking your nails in water for extended periods, as this can weaken the polish.
Finally, keep your hands moisturized. Dry skin can lead to chipping, so use a good hand cream.
Follow these tips, and you’ll enjoy your beautiful manicure for much longer!
Nail Art Tools and Supplies
Achieving stunning nail art starts with having the right tools and supplies at your fingertips. First, you’ll need a good set of nail polishes, especially those vibrant reds for that romantic touch. Look for high-quality brands that offer long-lasting formulas.
Next, invest in a base coat and a top coat; these help your design last longer and shine brighter.
You’ll also want to gather some essential tools. A fine-tipped brush is great for detailed designs, while dotting tools can create beautiful patterns with ease. Nail stickers and stencils are fantastic for beginners, allowing you to achieve intricate looks without needing advanced skills.
Don’t forget a nail file and buffer to shape and smooth your nails before painting. A cuticle pusher is also helpful, ensuring your nail beds are neat.
Lastly, keep some cotton pads and nail polish remover handy for those little mistakes that might happen along the way.
With these tools and supplies, you’re all set to create dazzling red nail art that’ll impress everyone this holiday season! So, roll up your sleeves and let your creativity shine!


