Disney Christmas Nail Magic: Enchanting Festive Designs
You can spark Disney magic in your holiday style with festive nail designs inspired by your favorite characters! Think of Mickey and Minnie in holiday attire or Elsa from Frozen with icy snowflakes. Use classic Christmas colors like red, green, and gold, and experiment with fun techniques like glitter ombre or nail stamping. You can create stunning looks with simple step-by-step tutorials and essential tools, like vibrant polishes and nail art brushes. Plus, some tips for long-lasting designs will keep your nails looking fabulous all season long. If you’re eager for more festive ideas, there’s plenty to explore ahead!
Iconic Disney Character Inspirations
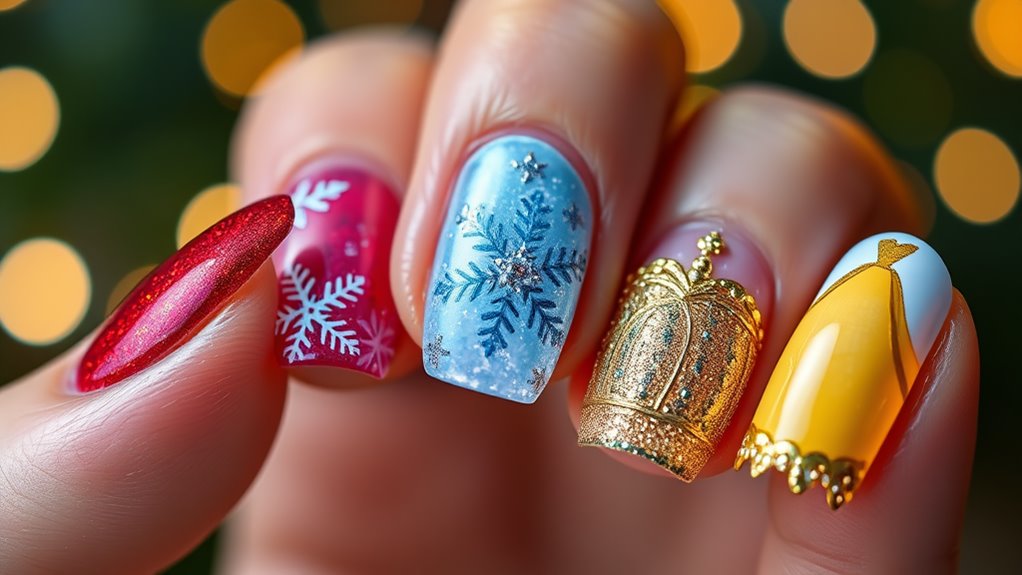
When it comes to Disney Christmas nail designs, you can easily draw inspiration from the beloved characters that have captured hearts for generations.
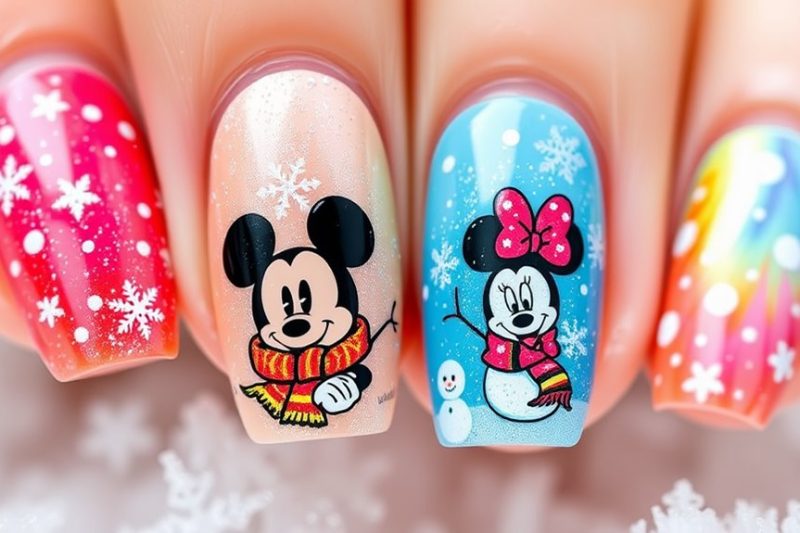
Imagine painting your nails with the cheerful colors of Mickey and Minnie Mouse! You could use red and white for a classic look, then add polka dots to channel Minnie’s iconic style.
If you’re a fan of Frozen, Elsa and Anna can inspire beautiful icy designs. Picture using light blue, silver, and white to create a frosty effect, complete with tiny snowflakes.
Or maybe you want to celebrate the magic of Toy Story! You could use bright colors like yellow and green to represent Buzz Lightyear and Woody, adding little stars or cowboy hats for extra flair.
Don’t forget about the enchanting princesses! A simple design featuring Cinderella’s glass slipper or Ariel’s seashell can bring a touch of whimsy to your holiday nails.
Classic Christmas Color Palettes
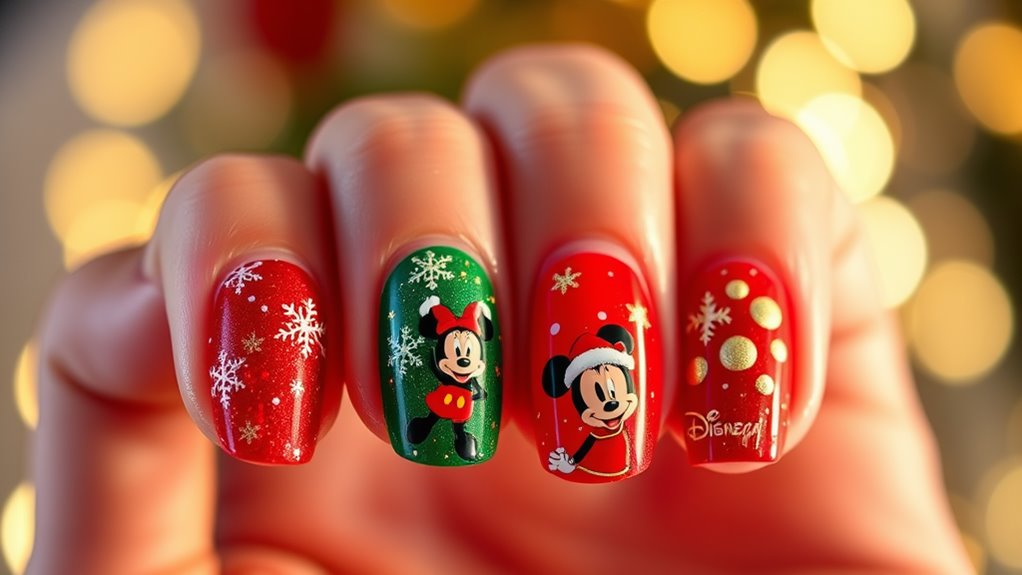
Combining Disney character inspirations with classic Christmas color palettes can elevate your nail designs to a whole new level. When you think of Christmas, colors like rich red, deep green, and sparkling gold come to mind. These shades provide a festive backdrop that perfectly complements your favorite Disney characters.
Imagine using a vibrant red base with green accents inspired by Mickey Mouse’s iconic colors. Or, you could choose a snowy white base to mimic Olaf, the lovable snowman, adding a touch of shimmering silver for that magical feel.
You can also experiment with traditional color combinations like red and gold, which evoke a sense of warmth and joy. Maybe you’ll opt for alternating colors on each nail—red on your thumb, green on your index, and so on. This playful approach not only showcases the festive spirit but also highlights your unique style.
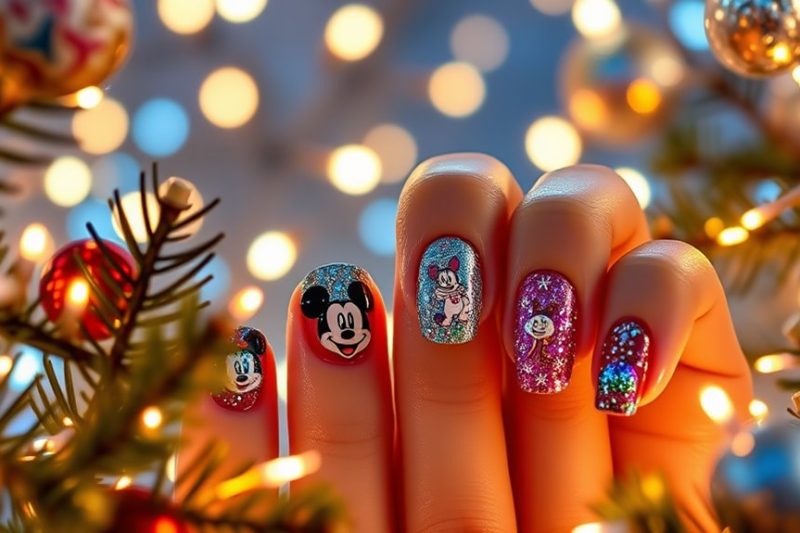
Don’t forget to incorporate glitters or metallic finishes to add that extra sparkle, reminiscent of twinkling Christmas lights. With these classic color palettes, your Disney-inspired Christmas nails will surely spread holiday cheer wherever you go!
Step-by-Step Design Tutorials
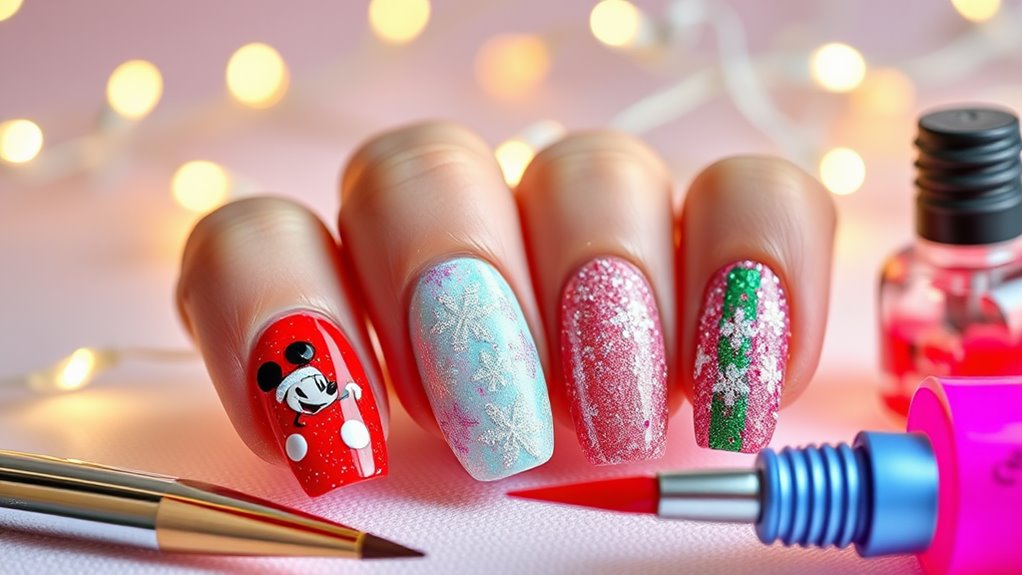
For those eager to create stunning Disney Christmas nail designs, step-by-step tutorials can make the process both fun and accessible.
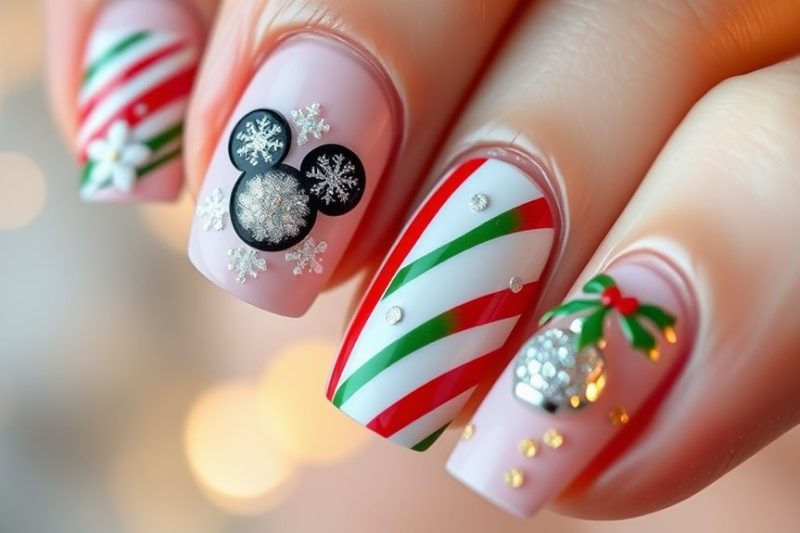
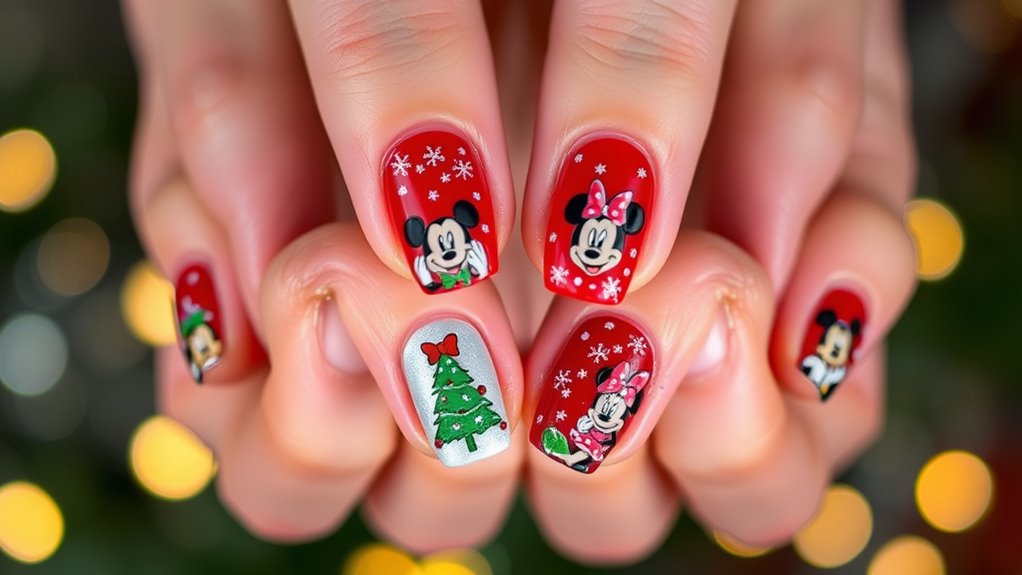
Let’s dive into a classic design: Mickey Mouse Christmas. Start by painting all your nails with a festive red polish, which sets a cheerful base. Once dry, take a thin brush and use white polish to create a simple Mickey head on your ring finger. Draw a big circle for the head and two smaller circles for the ears.
Next, fill in Mickey’s face with a light beige or flesh-toned polish. For those delightful festive touches, you can add tiny Christmas lights around Mickey’s head using various colors. Just a simple dot will do!
Now, let’s move to the other nails. You can paint snowflakes or candy canes with white and green polish. For an extra touch, add some sparkle with glitter polish on the tips.
Finish everything off with a clear top coat to seal your designs and give them a glossy shine.
With these easy steps, you’ll have a magical Disney-themed Christmas nail look that’s sure to impress! Enjoy the festive spirit while you create!
Nail Art Tools and Supplies
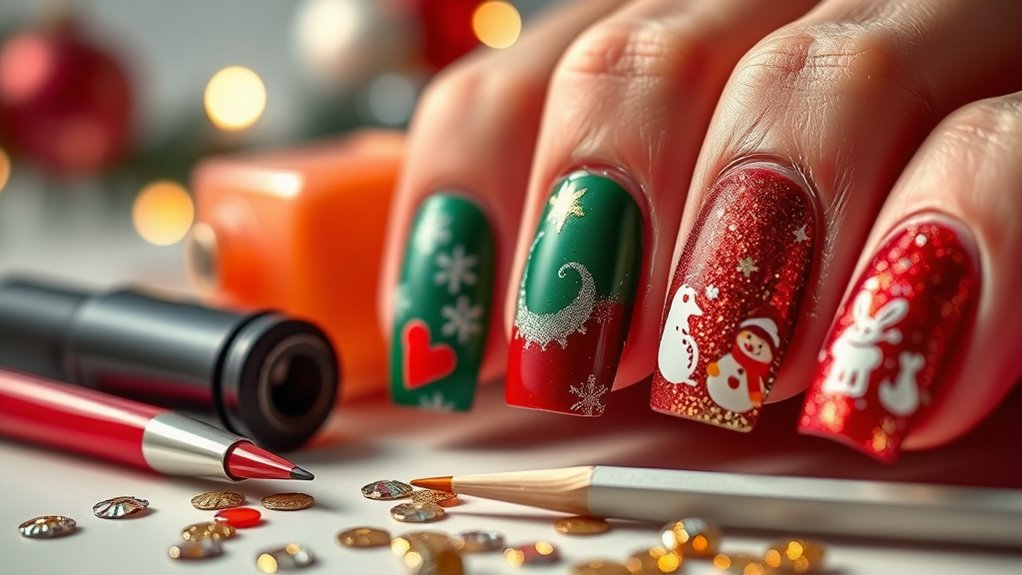
Creating beautiful Disney Christmas nail designs requires the right tools and supplies. First, you’ll need a good quality base coat to protect your nails and ensure your designs last longer.
Grab a few vibrant nail polishes in festive colors like red, green, and gold to capture the holiday spirit. Don’t forget a top coat to seal everything in and give your nails that glossy finish.
For intricate designs, nail art brushes are essential. A fine detail brush helps you create tiny characters or snowflakes, while a dotting tool makes it easy to add polka dots or Christmas lights.
If you prefer a quicker method, nail stamping kits can transfer lovely Disney-themed images onto your nails in seconds.
Make sure to have nail stickers or decals handy for those days when you want a quick, fun look without much effort.
You’ll also need cotton pads and nail polish remover for any clean-up. Finally, consider investing in a nail file and buffer to shape your nails perfectly.
With these tools and supplies in your arsenal, you’re ready to unleash your creativity and make your nails shine this holiday season!
Seasonal Themes and Motifs
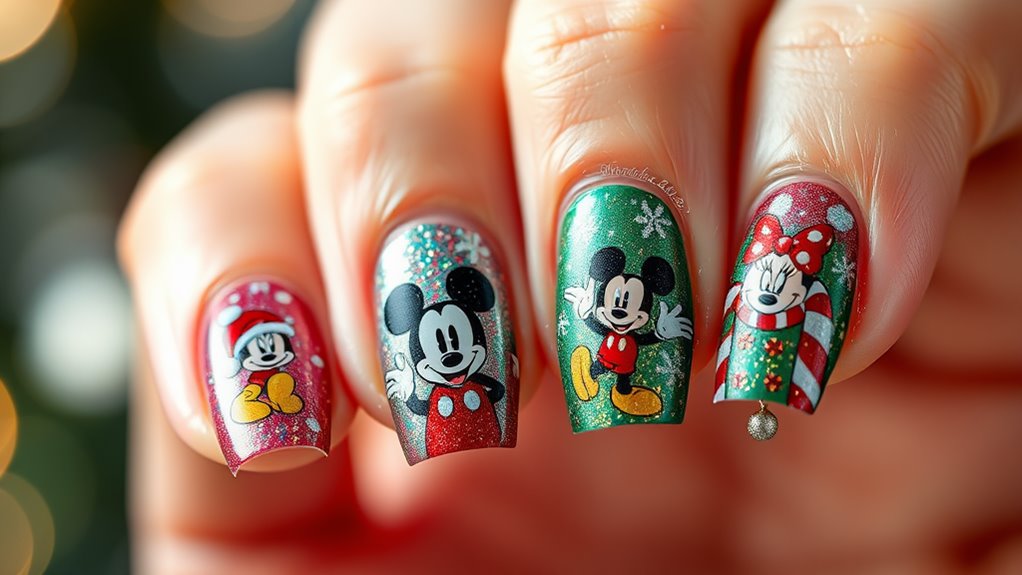
The magic of the holiday season inspires a delightful array of seasonal themes and motifs for Disney Christmas nail designs. You can bring the enchanting spirit of Disney to your fingertips by incorporating iconic characters and festive symbols.
Imagine showcasing Mickey and Minnie Mouse dressed in their holiday best, complete with Santa hats and candy canes. These designs instantly spread joy and cheer!
You can also opt for classic holiday motifs like snowflakes, Christmas trees, and ornaments, each infused with a Disney twist. Think of a shimmering snowman resembling Olaf from Frozen, or a whimsical tree adorned with Disney-themed ornaments.
The possibilities are endless!
Don’t forget about the colors that scream Christmas! Traditional reds, greens, and golds work beautifully, but you can add a dash of Disney magic with sparkly blues and pinks.
For an extra touch of fun, consider nail art techniques like glitter ombre or playful polka dots, which can transform your nails into a festive masterpiece.
Tips for Long-Lasting Designs
To keep your Disney Christmas nail designs looking vibrant throughout the holiday season, start with a solid foundation. First, make sure your nails are clean and dry before applying any polish. Use a good quality base coat to create a smooth surface and protect your nails from stains. This step not only enhances the polish’s adherence but also helps prevent chipping.
Once your base coat is dry, choose high-quality nail polishes that are known for their durability. Opt for festive colors that resonate with your favorite Disney characters, and don’t forget to apply two thin coats for richer color.
After you’ve painted your designs, seal everything with a top coat. This protective layer is crucial; it locks in your artwork while adding a glossy finish.
To keep your nails looking fresh, avoid using your hands for tasks that could chip or scrape the polish. If you notice any wear, touch up with a bit of polish and a quick layer of top coat.
Lastly, regularly moisturize your cuticles to keep them healthy. With these tips, your Disney Christmas nails will shine bright all season long!
Showcasing Your Disney Nails
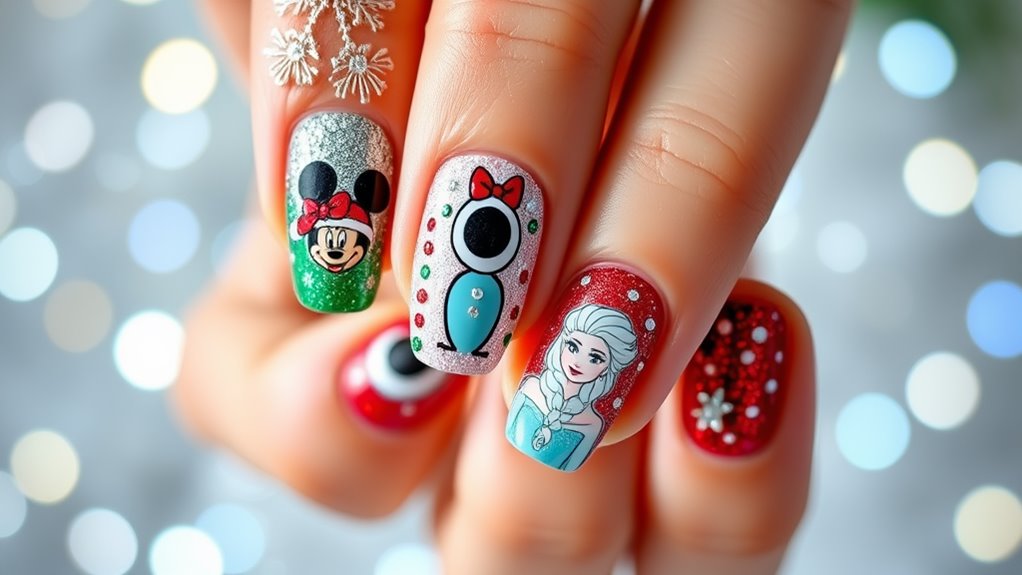
Your Disney nails deserve a spotlight! Whether you’ve gone for classic Mickey designs or opted for something more whimsical, it’s time to show them off.
Start by taking some amazing photos. Natural light works best, so find a sunny spot to capture the magic. Angle your hands just right to highlight those sparkling details. You can even include some festive props, like ornaments or holiday treats, to set the scene.
Once you’ve got those stunning shots, share them on social media. Platforms like Instagram and TikTok are perfect for showcasing your creativity. Use hashtags like #DisneyNails or #ChristmasNailArt to connect with fellow fans. Don’t forget to tag Disney or your favorite nail artists for a chance to get featured!
And if you’re heading to a holiday gathering, flaunt your nails with pride! Everyone will love admiring your festive flair, and you’ll spark conversations about your favorite Disney characters.
You might even inspire someone to try their own Disney-themed nails! Remember, showcasing your designs isn’t just about the nails; it’s about spreading joy and celebration during the holiday season.
