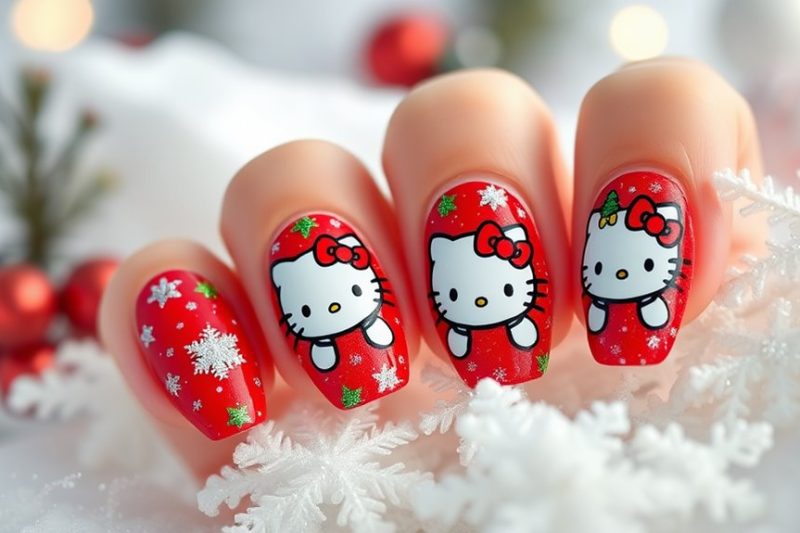
Hello Kitty Meets Christmas: Cute & Festive Nail Designs
Hello Kitty adds an adorable touch to your Christmas nail designs! You can use classic holiday colors like red, green, and white for a festive vibe, or try pink and metallics for something extra special. Fun techniques like dotting for ornaments or nail striping for snowflakes let you get creative with your designs. Incorporating Hello Kitty’s charming face or her in a Santa hat will make your nails pop with holiday cheer. Don’t forget to add some sparkle with glitter polish on accent nails for that extra glitz. Stick around to discover step-by-step tutorials and tips for perfect application!
Hello Kitty Christmas Colors
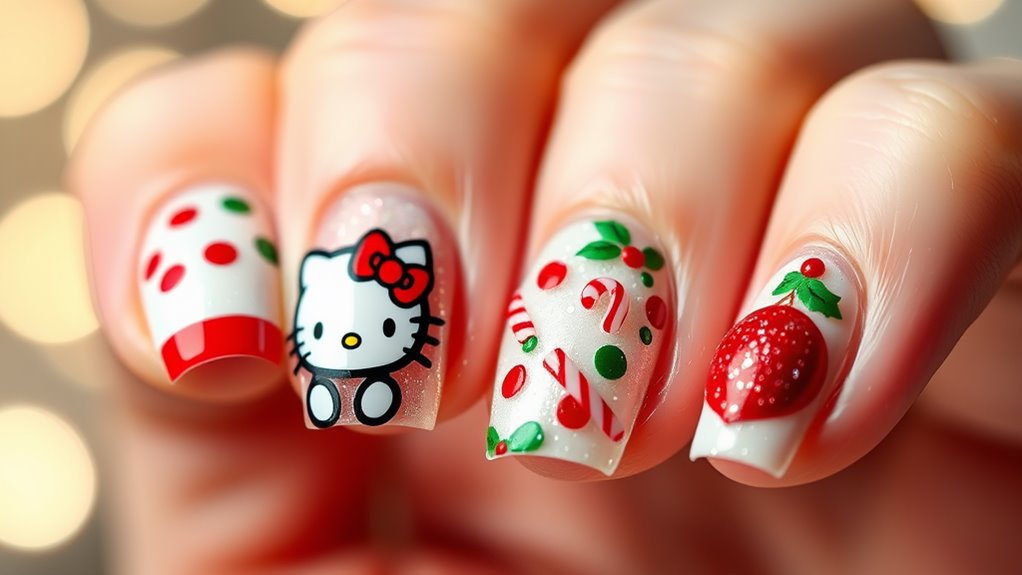
When it comes to Hello Kitty Christmas colors, you’ll want to embrace a festive palette that captures the spirit of the season. Start with classic red and green, which are staples of any holiday celebration. Red symbolizes warmth and cheer, while green represents the beauty of nature and new beginnings.
You can also add touches of white, echoing the sparkle of snow and giving your designs a fresh, clean look.
Don’t forget about pink! Hello Kitty’s signature color can bring a lovely twist to your holiday designs. Incorporating shades like soft pastel pink or a vibrant fuchsia can make your nails stand out.
Metallics, like gold and silver, can also add a touch of glam, making your nails feel extra special.
For accents, consider using bright colors like turquoise or lavender to create a fun contrast. This mix of colors not only keeps your designs playful but also reflects Hello Kitty’s cheerful personality.
Festive Nail Art Techniques
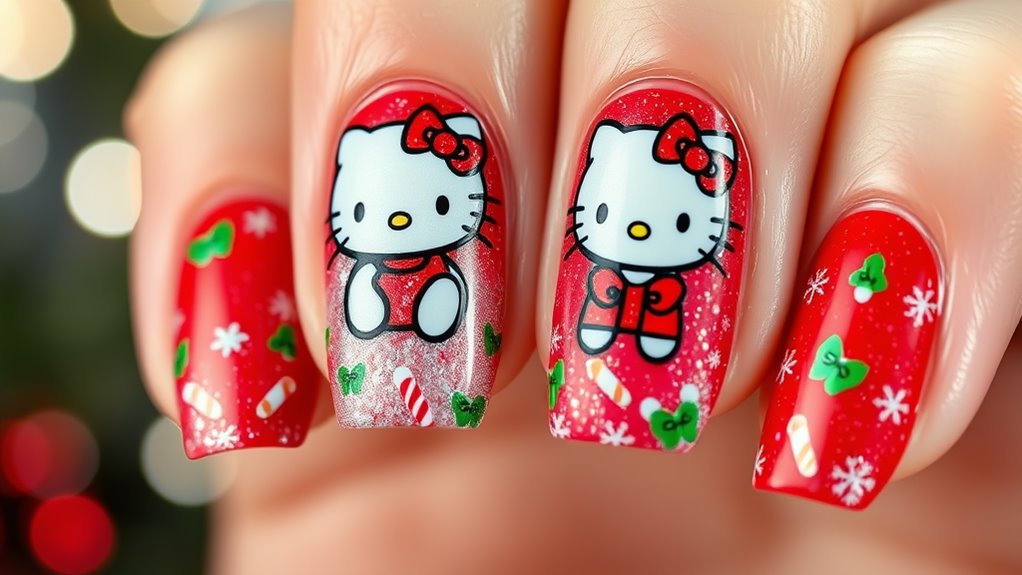
With your festive colors ready, it’s time to explore some creative nail art techniques that will elevate your Hello Kitty Christmas designs.
One popular method is the dotting technique. Grab a dotting tool or even a toothpick to create adorable polka dots on your nails. Use white, red, and green to mimic Christmas ornaments or candy canes.
Another fun approach is the gradient effect. Start with a base color, like a bright red, and blend in a lighter shade towards the tip of your nails. This creates a beautiful ombre effect that pairs perfectly with your Hello Kitty theme.
Don’t forget about nail striping tape! You can use it to create crisp lines for designs like snowflakes or presents. Simply place the tape on your dry polish, paint over it, and peel it off to reveal sharp designs underneath.
Finally, consider using nail stickers or stencils for intricate patterns. These can easily add Hello Kitty icons or festive shapes without needing advanced skills.
Experiment with these techniques, and let your creativity shine as you bring your Hello Kitty Christmas nails to life!
Iconic Hello Kitty Designs
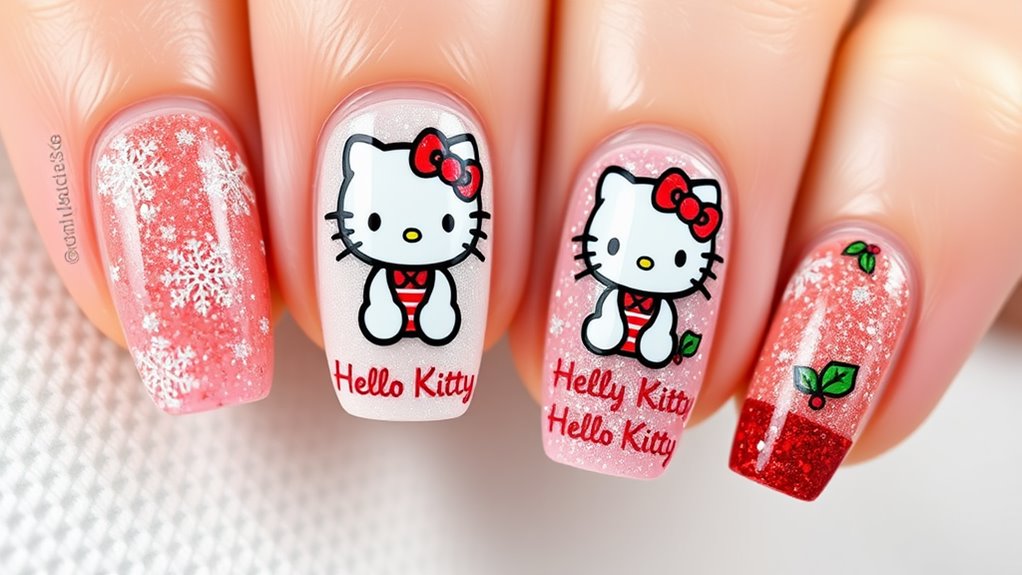
Hello Kitty designs are instantly recognizable and beloved by fans of all ages. When you think of Hello Kitty, her iconic face with big, round eyes and a little pink bow comes to mind. These features are perfect for nail art, allowing you to create cute designs that showcase her charm. You can paint her face on your nails or use decals to make the process easier.
Another popular design is the Hello Kitty character dressed in different outfits. From adorable holiday attire to seasonal costumes, these variations give you a chance to express your creativity. You might even want to mix and match her designs across your nails for a fun, whimsical look.
Don’t forget about the classic Hello Kitty symbols, like her signature bow and the heart that often accompanies her. These elements can be combined with other nail art techniques, such as stripes or polka dots, to add depth and interest.
Whether you’re going for a simple design or something more elaborate, Hello Kitty’s iconic style is sure to bring a smile to your face and a festive spirit to your nails this holiday season.
Holiday Themes and Patterns
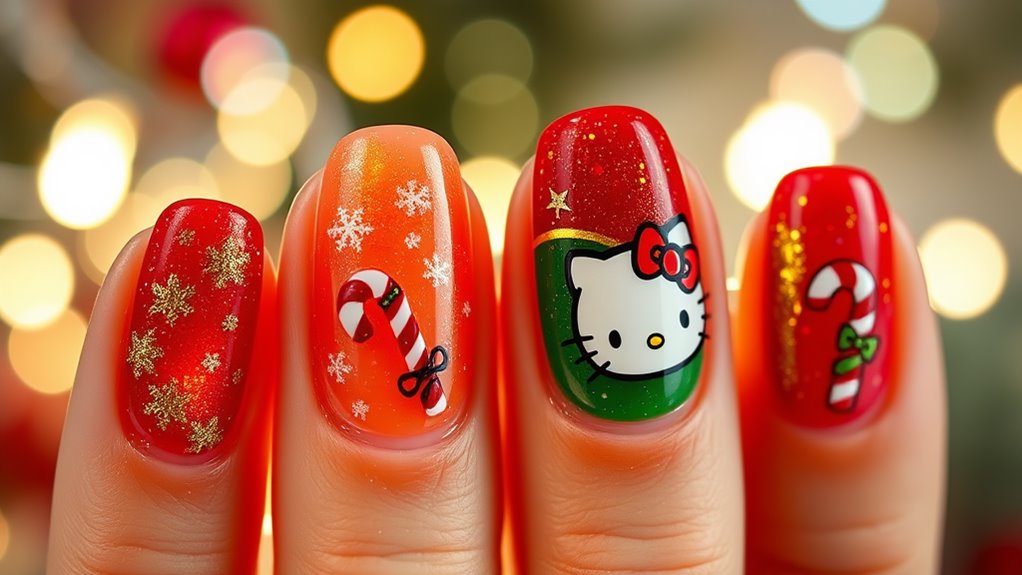
Nail art during the holiday season can transform your fingertips into festive masterpieces. You can get creative with various themes and patterns that capture the spirit of Christmas. Think about using classic motifs like snowflakes, Christmas trees, or candy canes. These elements aren’t only fun to paint but also help spread holiday cheer wherever you go.
Consider incorporating traditional colors like red, green, and white into your designs. You could alternate these colors on each nail, or create a stunning ombre effect. For a cuter twist, why not add Hello Kitty dressed in a Santa hat or surrounded by presents? This can make your nails stand out while celebrating the holidays.
If you prefer a more subtle approach, you might opt for elegant designs featuring delicate lines and soft pastel shades. Simple snowman faces or tiny ornaments can add a charming touch without being overwhelming.
Glitter and Sparkle Ideas
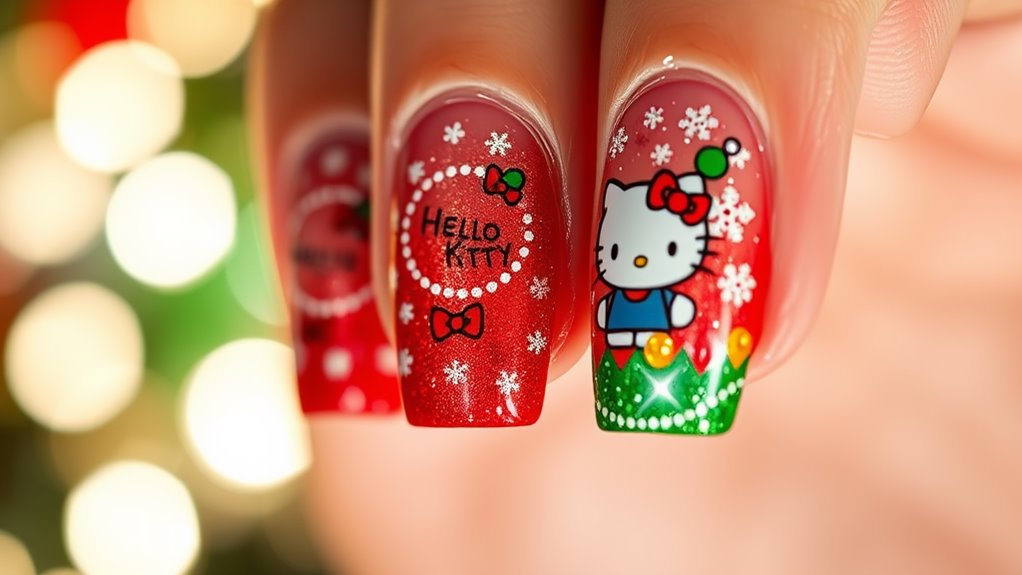
Adding glitter and sparkle to your holiday nail designs can elevate them from ordinary to extraordinary. When it comes to festive nails, a little shimmer goes a long way! You can start by choosing a base color that sets the mood. Classic reds, greens, or even soft pastels can create a lovely backdrop for your sparkle.
For a touch of fun, consider using glitter polish on just one or two accent nails. This technique draws attention and keeps your design from feeling too over-the-top. You can also use glitter in different sizes; chunky glitter can create a bold statement, while fine glitter offers a delicate touch.
Another great idea is to incorporate nail art stickers or stamps featuring Hello Kitty in festive outfits. Once you’ve applied your glitter, place the stickers on top for that adorable holiday vibe.
Finally, don’t forget to seal your design with a top coat. This not only adds shine but also protects your sparkling masterpiece.
With these glitter and sparkle ideas, your holiday nails will surely stand out, making you feel festive and fabulous!
Step-by-Step Tutorials
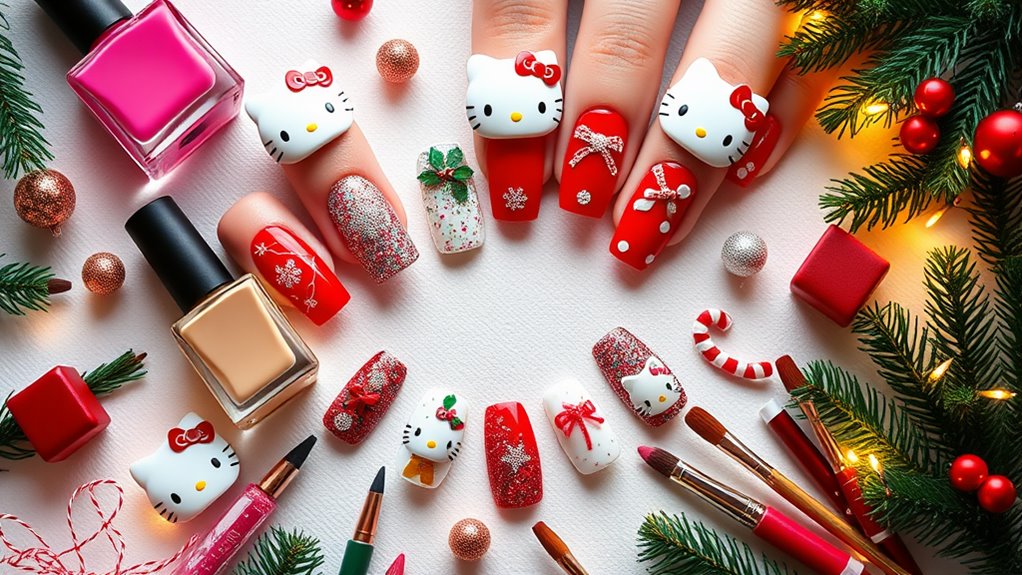
Wondering how to create the perfect Hello Kitty Christmas nails? You’re in luck! Follow these simple steps to bring some festive cheer to your manicure.
First, gather your supplies: a base coat, white nail polish, red and green nail polish, a thin brush, and Hello Kitty stickers or nail stamps.
Start by applying a base coat to protect your nails. Once that’s dry, paint your nails with the white polish. This will give you a nice canvas for the design.
Now, grab your red polish and paint a few nails to create a candy cane effect. Use the thin brush to add diagonal stripes for that classic look.
Next, it’s time for Hello Kitty! If you’re using stickers, carefully place them on your white nails. If you’re stamping, follow the instructions on your stamp set.
You can add some green polish for Christmas trees or snowflakes around the stickers for extra flair.
Finish with a top coat to seal your design and add shine. Let your nails dry completely, and you’re ready to show off your adorable Hello Kitty Christmas nails! Enjoy the compliments!
Tips for Perfect Application
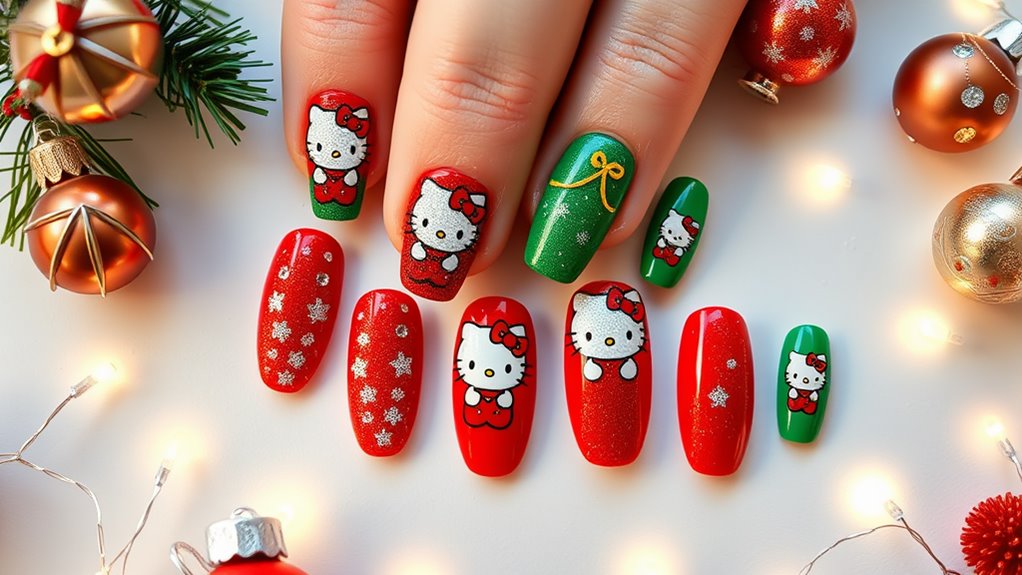
Achieving the perfect Hello Kitty Christmas nails requires not just creativity but also technique. To get started, make sure your nails are clean and shaped. You’ll want to apply a base coat to protect your natural nails and create a smooth surface for your polish. Choose a vibrant color for the base, like red or green, to set the festive mood.
When applying your nail polish, use thin layers. This helps prevent smudging and allows each layer to dry evenly. After the base color dries, it’s time to add your Hello Kitty designs. You can use a fine brush or nail art pen for precision. Don’t rush this step; take your time to ensure the details are perfect.
Once your designs are complete, seal everything with a top coat. This not only gives your nails a glossy finish but also protects your art from chipping.
Finally, if you find any smudges or mistakes, use a small brush dipped in nail polish remover to clean up the edges. With these tips, you’ll have adorable Hello Kitty Christmas nails that’ll impress everyone this holiday season!

