Glitter Ombre Holiday Nails: Sparkling Festive Charm
Glitter ombre holiday nails add a sparkling festive charm to your look, perfect for the season! Start with a base coat to protect your nails, then paint a lighter polish for the base. Next, apply a darker polish at the tips and blend with a makeup sponge for a seamless ombre. For that extra sparkle, add glitter over the tips and finish with a top coat for shine. You can get creative with colors like deep red and gold or teal and silver. If you’re curious about design inspirations and maintenance tips, there’s plenty more to explore!
Understanding Glitter Ombre Technique
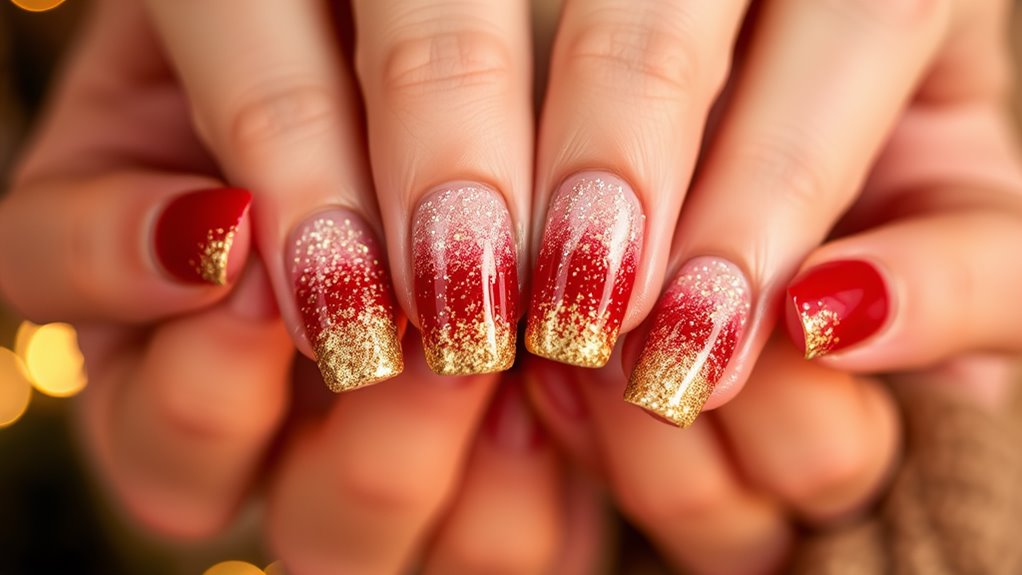
To create stunning glitter ombre nails, it’s essential to understand the technique behind it. Ombre nails blend two or more colors seamlessly, giving a beautiful gradient effect. When you add glitter, it takes this style to a whole new level, perfect for the holiday season!
Start by choosing your base color and a glitter shade that complements it. You’ll usually want to paint your nails with the base color first, letting it dry completely. This makes sure the colors transition smoothly.
Next, you’ll apply the glitter starting from the tips of your nails, gradually working your way down. You can use a makeup sponge to dab the glitter onto your nails, which helps to create that soft ombre effect.
Don’t forget to blend the colors well! The key is to be patient and build up the glitter layer by layer, ensuring a smooth fade.
Once you’re satisfied with the look, seal it all in with a top coat. This not only adds shine but also protects your design.
With practice, you’ll master this technique and have fabulous glitter ombre nails that shine bright during the festive season!
Essential Tools and Materials
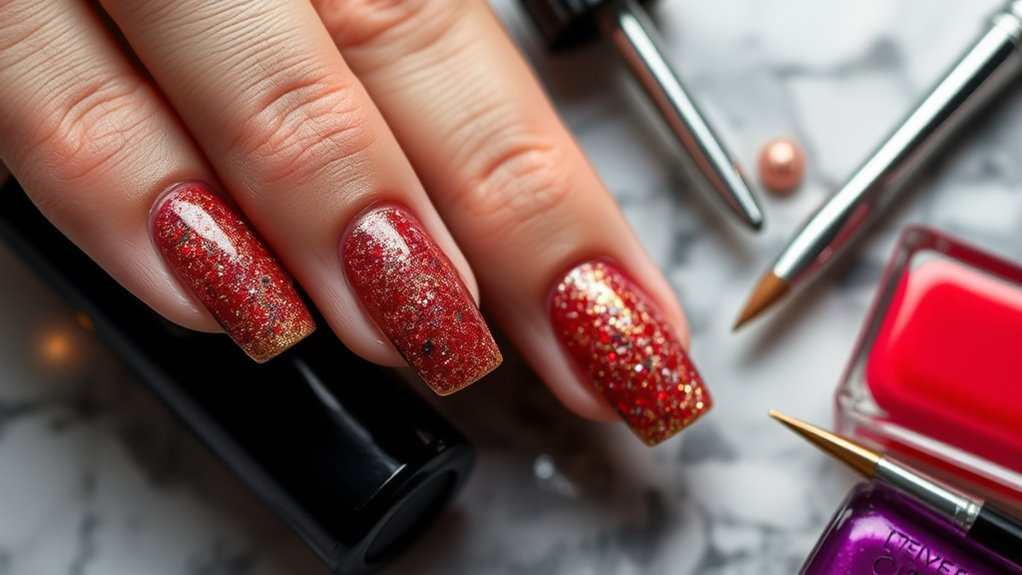
Gathering the right tools and materials is crucial for achieving beautiful glitter ombre holiday nails. To get started, you’ll need a base coat and a top coat; these will protect your nails and give them a shiny finish.
Choose high-quality nail polishes in your favorite holiday colors, like deep reds, greens, or even frosty whites.
Next, pick up some fine glitter and a glitter gradient brush, as these are essential for blending that stunning ombre effect. You’ll also want a makeup sponge; it’s perfect for dabbing on the glitter and creating that seamless transition.
Don’t forget a nail file and cuticle pusher to prep your nails before you begin.
For added precision, a dotting tool or small brush can help with any detailed work. Having some acetone and cotton pads handy will make cleanup easier if you get a bit messy.
Finally, consider a nail art palette or small dish to mix your glitter with clear polish if you want a custom blend. With these tools and materials in hand, you’re all set for a sparkling holiday nail adventure!
Step-by-Step Application Guide
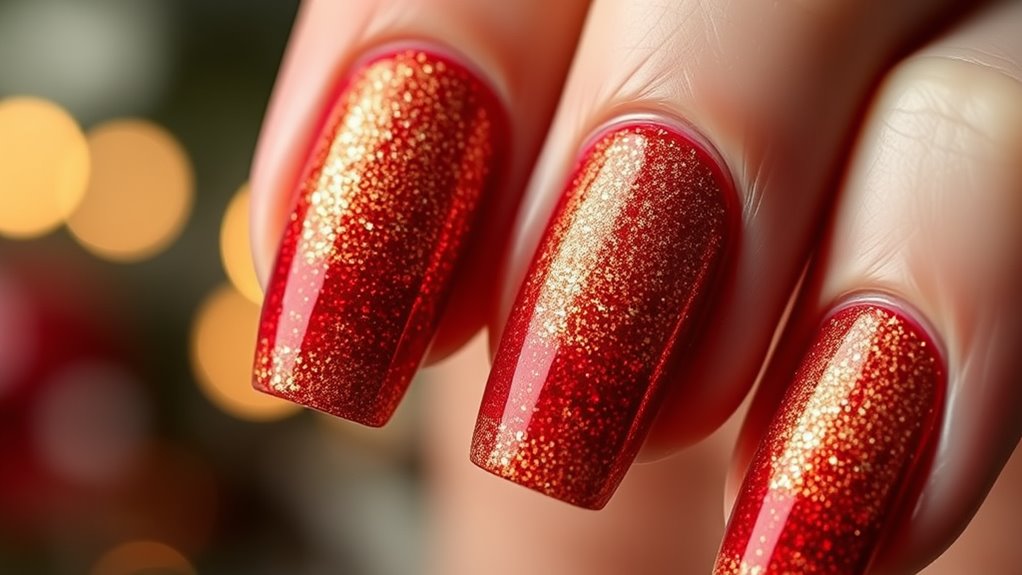
Creating the perfect glitter ombre holiday nails is an exciting process that requires careful attention to detail. To start, gather your essential tools: a base coat, two nail polish colors (one lighter and one darker), and your glitter.
Begin by applying a base coat to protect your nails. Once it’s dry, paint your nails with the lighter polish. This will be the base of your ombre look.
Next, take the darker polish and apply it to the tips of your nails, using a makeup sponge to blend the two colors. Dab the sponge lightly, moving from the tip towards the base of your nail. This technique creates that beautiful gradient effect. Once you’re happy with the ombre, let it dry completely.
Now it’s time to add the sparkle! Apply a layer of glitter polish over the entire nail, focusing more on the tips for a dazzling finish.
After the glitter coat dries, seal your design with a top coat to ensure longevity and shine. Finally, clean up any excess polish around your nails with a brush dipped in nail polish remover.
Voilà! You’ve created stunning glitter ombre holiday nails that are sure to impress!
Creative Design Inspirations
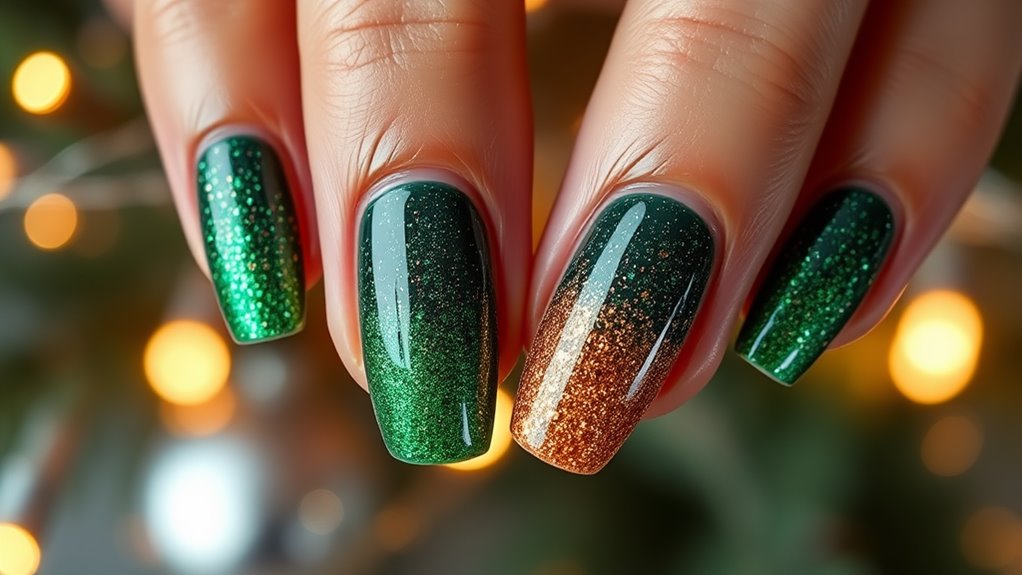
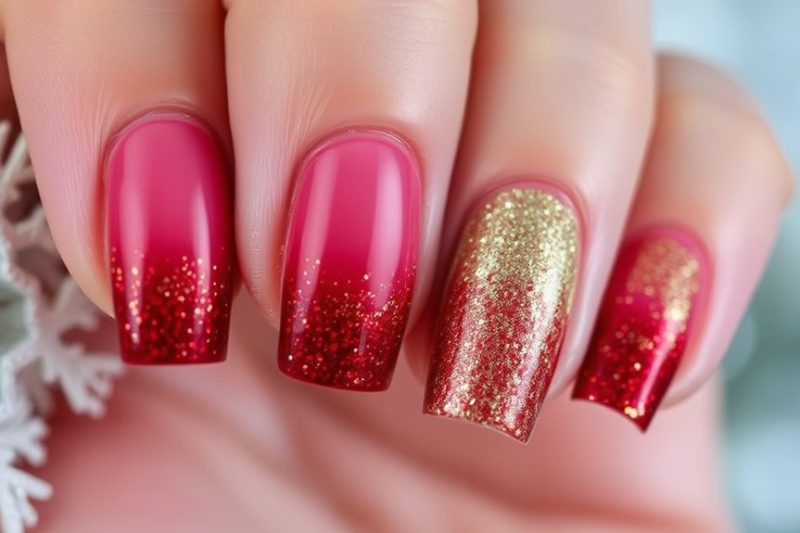
When it comes to designing your glitter ombre holiday nails, the possibilities are endless. You can create a dazzling effect by blending colors that evoke the festive spirit. For a classic look, try a gradient from deep red at the cuticle to shimmering gold at the tips. This combination not only looks elegant but also captures the warmth of the holiday season.
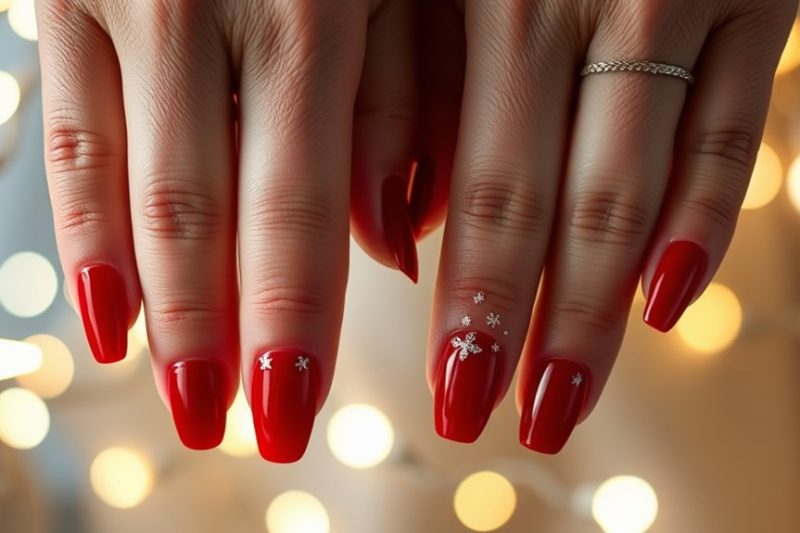
If you’re feeling adventurous, consider using unexpected color combinations. A teal-to-silver ombre offers a fresh twist on traditional holiday shades. You could even incorporate nail art, like snowflakes or Christmas trees, to enhance the design. Using a thin nail brush, you can easily paint these festive images over the glitter ombre.
Don’t forget about different textures! Mix matte and glossy finishes for a unique visual appeal. You might also experiment with various sizes of glitter—from fine shimmer to chunky pieces—to add dimension to your nails.
Lastly, consider accent nails. Applying a bold glitter design to just one or two fingers can create a stunning focal point.
Whatever you choose, let your creativity shine through, and enjoy showcasing your festive nail art!
Nail Care and Maintenance Tips
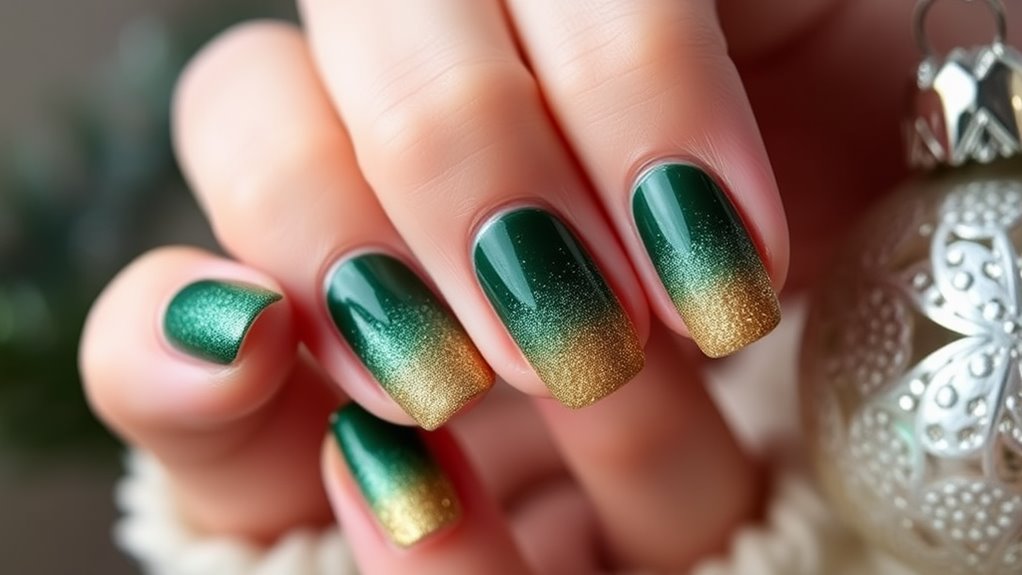
To keep your glitter ombre holiday nails looking fabulous, regular care and maintenance are essential. Start by moisturizing your cuticles with a nourishing oil or cream. This step helps to prevent dryness and keeps your nails healthy.
You should also avoid using your nails as tools; this can lead to chips and breaks, ruining your stunning design.
Next, consider using a top coat every few days. A quality top coat not only enhances the sparkle of your glitter but also adds a protective layer, extending the life of your manicure. If you notice any lifting or chipping, gently file the edges to smooth them out.
When it’s time for removal, don’t be tempted to peel off the polish. Instead, soak a cotton ball in acetone or a nail polish remover, press it onto your nail, and wrap it in foil for a few minutes. This method ensures you’ll remove the polish without damaging your natural nails.
Lastly, remember to give your nails a break between manicures. This allows them to recover and stay strong.
With these tips, your holiday nails will shine bright all season long!

