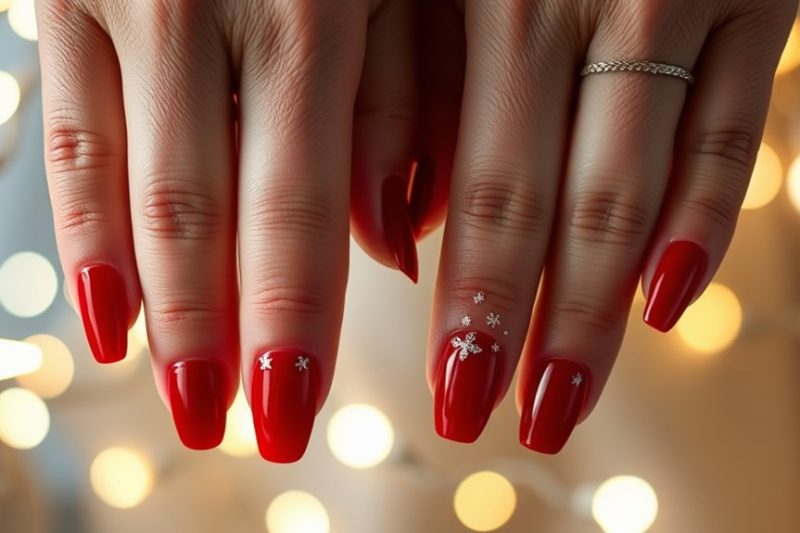
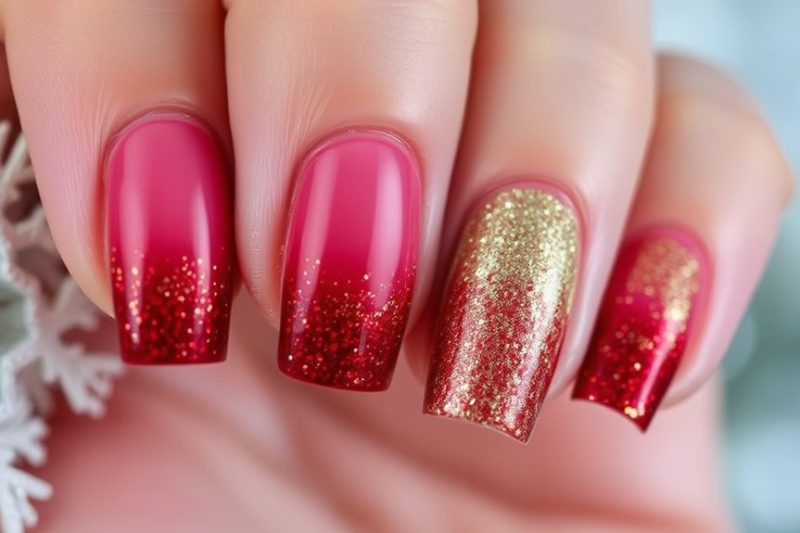
Festive Red Ombre Nails: A Bold Christmas Statement
Festive red ombre nails are a bold and beautiful way to celebrate Christmas! By blending two shades of red, you can create a stunning gradient that captures the holiday spirit. Start with a good-quality base coat, then apply a darker red at the tips and blend a lighter shade downwards using a makeup sponge. For extra flair, consider adding glitter or holiday-themed designs like snowflakes. Remember to seal your masterpiece with a topcoat for shine, and care for your nails to keep them looking fresh. Want to perfect your nail art? There’s plenty more to discover!
Understanding Ombre Nail Art
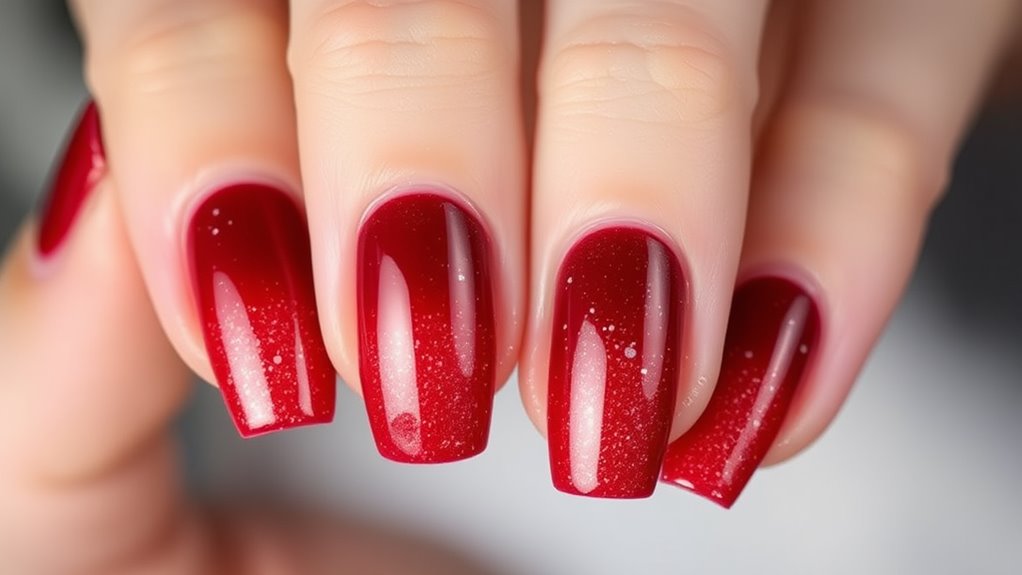
Ombre nail art has become a popular choice for those looking to add depth and dimension to their manicure. This technique blends two or more colors seamlessly, creating a stunning gradient effect that catches the eye.
You might think ombre nails are just for special occasions, but they can easily be worn every day. The beauty of ombre is that it allows you to express your personality through a mix of colors, styles, and designs.
To achieve the perfect ombre look, you’ll want to start with a base color that complements the shades you choose. Whether you’re going for a subtle transition or a bold statement, ombre nails can work with any color palette.
The key is to blend the colors smoothly, so they transition from one to the other without any harsh lines. You can experiment with various combinations, like soft pastels for a delicate touch or vibrant hues for a more striking appearance.
Ombre nails aren’t just visually appealing; they also provide a unique way to showcase your creativity.
Essential Tools and Materials

To achieve stunning ombre nails, you’ll need a few key tools and materials that will make the process smoother and more enjoyable.
First, gather your nail polish in shades of red, ideally a lighter and a darker hue to create that beautiful gradient effect. You’ll also want a clear topcoat to seal your design and add shine.
Next, grab a makeup sponge; it’s perfect for blending colors together. You’ll dab the lighter polish on one side and the darker polish on the other side of the sponge, then gently press it onto your nails.
Don’t forget a good-quality base coat to protect your nails and ensure the polish adheres well. A pair of tweezers can be handy for picking up small items, like nail art stickers, to add extra flair.
Lastly, keep some cotton balls and nail polish remover nearby for any touch-ups or mistakes.
With these essential tools and materials in hand, you’re ready to dive into creating your festive red ombre nails, and soon you’ll be rocking a bold Christmas statement that’s sure to impress!
Creative Design Ideas
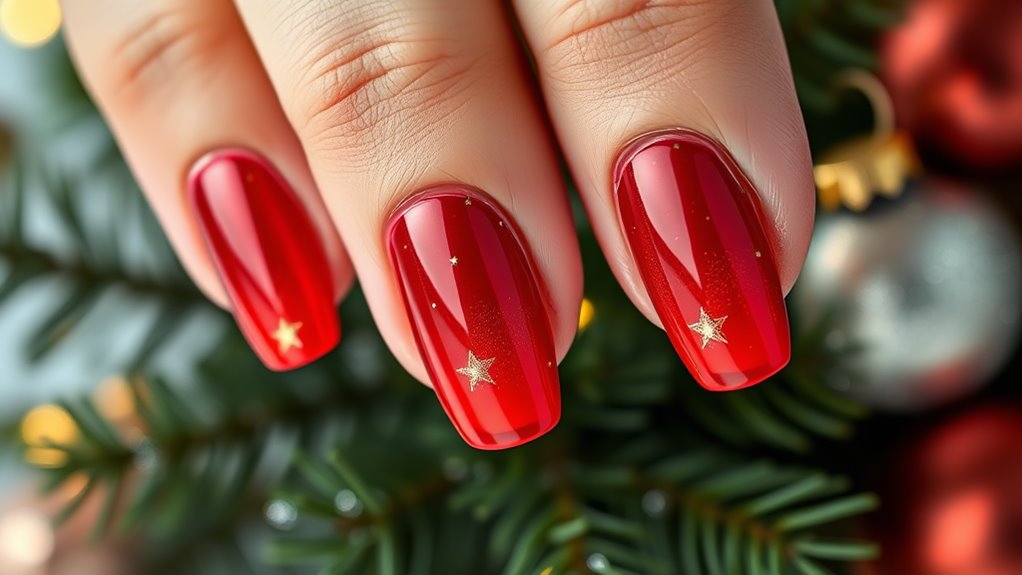
When you’re ready to unleash your creativity, there are countless ways to personalize your festive red ombre nails. You might consider adding some sparkle by incorporating glitter on the tips. This will give your nails a dazzling effect, perfect for the holiday season!
Another fun idea is to create a gradient effect with different shades of red, transitioning from a deep crimson to a bright cherry. It can really make your nails pop!
If you’re feeling adventurous, try adding holiday-themed nail art, like tiny snowflakes or Christmas trees, on top of your ombre base. You could also use nail stamps or stickers for an easier approach.
For something more subtle, think about using matte topcoat over your ombre design. This gives your nails a chic and modern look that’s still festive.
Don’t forget about accent nails! Choose one or two nails on each hand to feature a unique design, like a bold stripe or a cute holiday graphic.
Whatever you choose, let your personality shine through. With these creative ideas, your festive red ombre nails will definitely make a bold Christmas statement!
Step-by-Step Application Guide
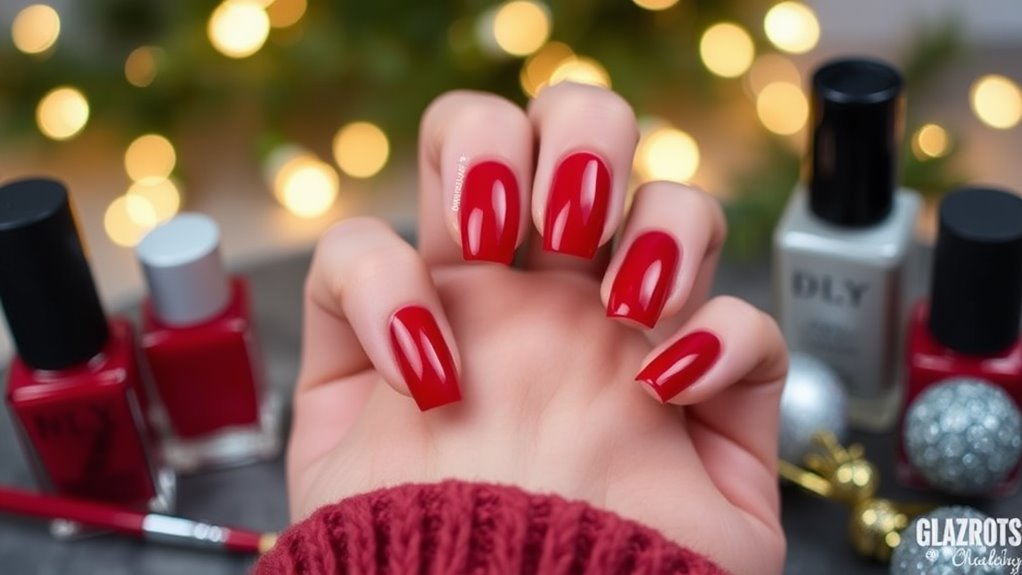
Creating stunning festive red ombre nails can be a rewarding experience, especially when you follow a clear application guide.
Start by gathering your supplies: two shades of red nail polish, a base coat, a top coat, a makeup sponge, and some nail tape.
Begin with clean, dry nails. Apply a base coat to protect your nails and let it dry completely.
Next, paint the tips of your nails with the darker red polish. Don’t worry about neatness; you’ll blend it later.
Once that’s dry, take your lighter red polish and paint a stripe next to the darker shade on the sponge.
Now, gently dab the sponge onto your nails, blending the two colors together. You can repeat this step until you achieve your desired ombre effect.
After blending, make sure to clean any excess polish from your skin using nail tape or a small brush dipped in remover.
Once you’re happy with the look, let everything dry before applying a top coat for shine and protection.
This final touch will help your festive ombre nails last longer. Enjoy showing off your holiday spirit with these eye-catching nails!
Caring for Your Ombre Nails
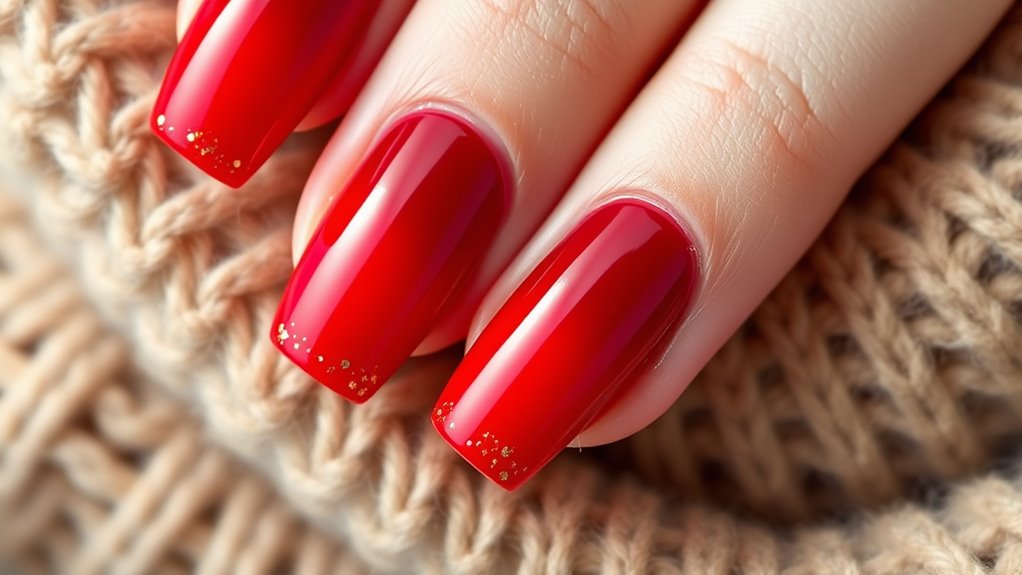
Caring for your ombre nails is essential to keep them looking vibrant and fresh. To maintain that stunning gradient, start with gentle handling. Avoid using your nails as tools; this can lead to chips and breaks. When washing dishes or doing chores, consider wearing gloves to protect your manicure.
Next, keep your nails hydrated. Applying cuticle oil regularly helps prevent dryness and keeps the skin around your nails looking healthy. You should also moisturize your hands daily to maintain overall nail health.
It’s important to touch up your polish every few days. If you notice any fading, a quick coat of clear polish can revitalize the color without the need for a complete redo.
Lastly, always remove your polish safely. Use an acetone-free remover to prevent drying out your nails. When you’re ready for a new look, give your nails a break from polish for a few days to breathe.

