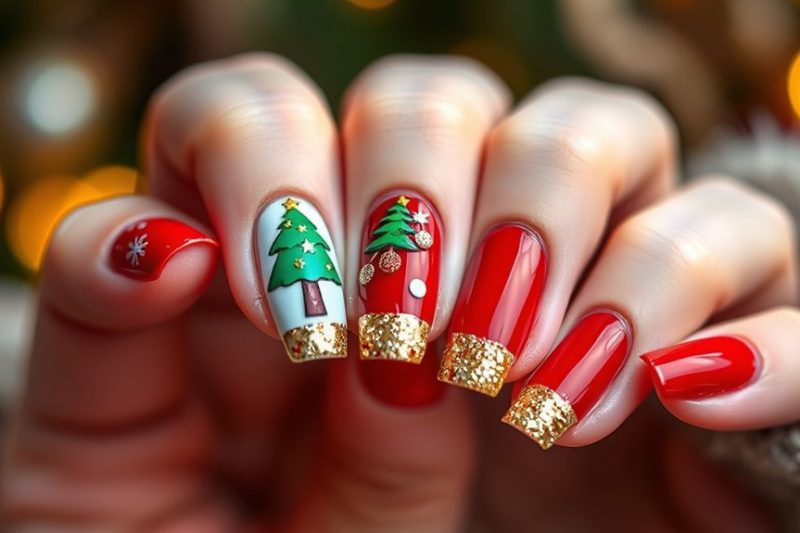
Short Holiday Nail Designs: Festive Looks in Miniature
You can easily create short holiday nail designs that bring festive cheer to your fingertips. Start with classic colors like deep reds and greens, or go for some sparkle with gold or silver. Simple techniques, like using a dotting tool for fun patterns or tape for neat stripes, work wonders. Don’t forget about holiday-themed stickers—they’re quick and easy to apply! You can even mix and match designs for a unique twist. Remember to take care of your nails by keeping them clean and moisturized. If you’re excited for more ideas, there’s plenty more inspiration ahead!
Festive Color Palettes
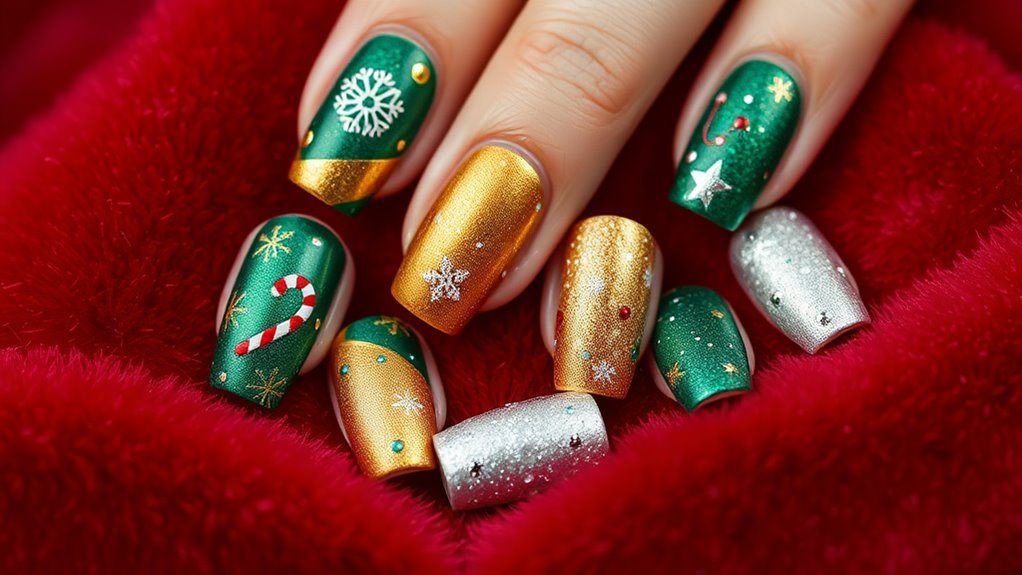
When it comes to nail designs for the holidays, choosing the right festive color palettes can make all the difference. You’ll want to think about colors that capture the spirit of the season. Classic shades like deep reds and greens evoke feelings of warmth and joy, while metallics like gold and silver add a touch of glamour.
If you’re feeling adventurous, consider incorporating trendy colors such as icy blues or shimmering purples. Mixing and matching these colors can also create stunning effects. For instance, a base of glittery gold with a glossy red tip can be both simple and eye-catching.
You can even use white as a backdrop for snowflake designs or holiday-themed nail art. Don’t forget about the power of accents! Adding a pop of color, like a sparkly emerald green or a festive silver, can elevate your look.
As you choose your colors, think about what resonates with you and reflects your personality. After all, your nails are a canvas for self-expression, especially during the holidays. So, grab your polish and let your creativity shine!
Simple Nail Art Techniques
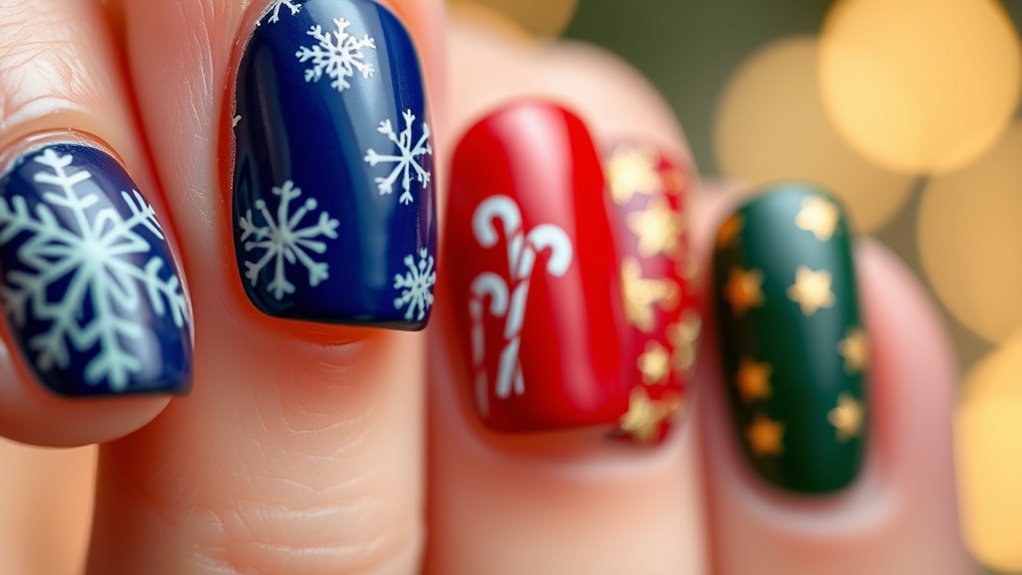
Nail art doesn’t have to be complicated to look fabulous—just a few simple techniques can transform your holiday nails into a festive masterpiece.
Start with a solid base coat to protect your nails and help your polish last longer. Once that’s dry, choose your favorite festive color. Applying two thin coats instead of one thick coat will give you a smoother finish.
Next, consider using a dotting tool or a toothpick to create fun patterns. Dots can add a playful touch—try alternating colors for a candy cane effect.
If you’re feeling adventurous, experiment with stripes. Just use tape to mask off sections of your nail, then apply a different color in each section.
For a little sparkle, try adding glitter to the tips of your nails or around the edges. This creates a beautiful, festive ombré effect.
Lastly, don’t forget to seal your design with a top coat. This not only enhances the shine but also protects your artwork from chips.
With these easy techniques, you’ll have holiday nails that catch everyone’s eye, proving that simplicity can shine just as bright as complexity!
Holiday-Themed Nail Stickers
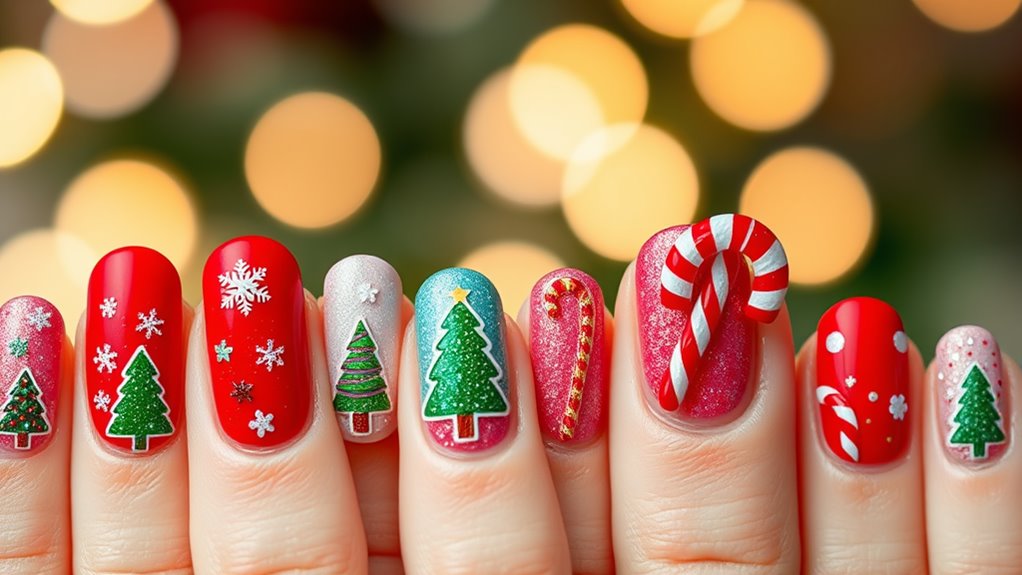
If you’re looking for a quick and effortless way to elevate your holiday nail game, holiday-themed nail stickers are the perfect solution. These fun and festive stickers come in various designs, from snowflakes and Christmas trees to reindeer and candy canes. You can easily find a set that matches your style, whether you prefer a classic look or something more whimsical.
Applying these stickers is super simple. Just paint your nails with your favorite holiday color, let them dry, and then choose the stickers you want to use. Peel them off carefully and press them onto your nails. You can even mix and match designs for a unique look!
Once you’re done, a top coat will help seal the stickers and keep them looking fresh. Nail stickers are also a great way to get creative without needing advanced skills. They’re perfect for kids and adults alike, making them a fantastic family activity.
Plus, if you’re in a rush or need a last-minute touch-up, you can transform your nails in just a few minutes. So grab some holiday-themed nail stickers and let your nails spread the holiday cheer!
Quick DIY Designs
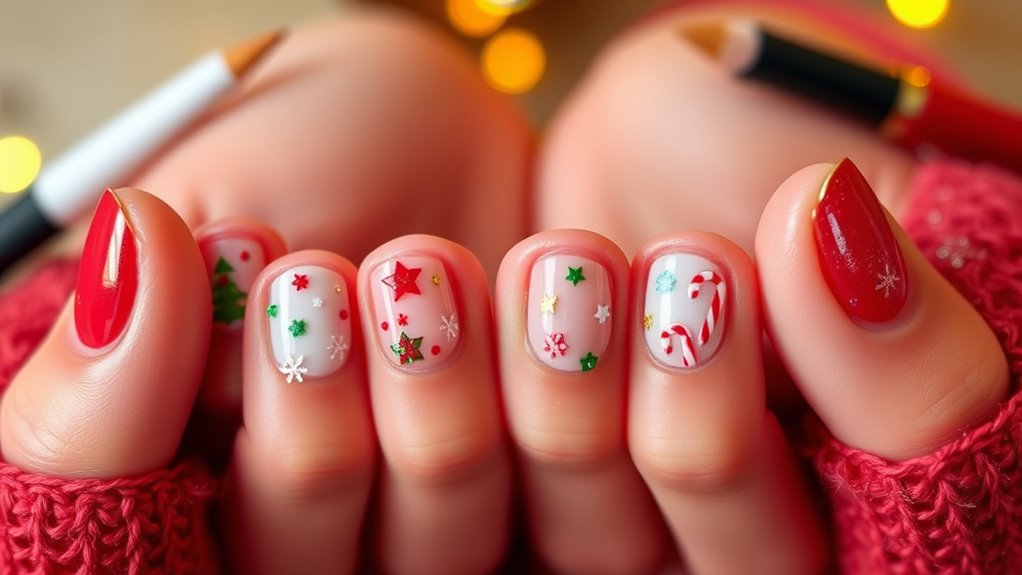
Looking to create festive nail designs in no time? You can whip up some stunning DIY looks right at home with just a few supplies.
Start with a base coat to protect your nails, then choose your favorite holiday colors. Red, green, gold, and silver are great choices that scream festive cheer!
For a simple design, try polka dots. Just use a dotting tool or even a toothpick to place dots in alternating colors on your nails.
If you’re feeling adventurous, create a candy cane effect by painting one nail white and adding red stripes. It’s super easy and looks adorable!
Another quick option is to use nail tape. Apply it in various angles on your nail, paint over it, and peel it off for a chic geometric design.
You can also add a tiny star on your ring finger using a toothpick dipped in gold polish—simple yet eye-catching!
Lastly, don’t forget to seal your design with a top coat to add shine and longevity.
With these quick DIY designs, you’ll be ready to show off your festive spirit in no time. Enjoy your nail art journey!
Tips for Nail Care
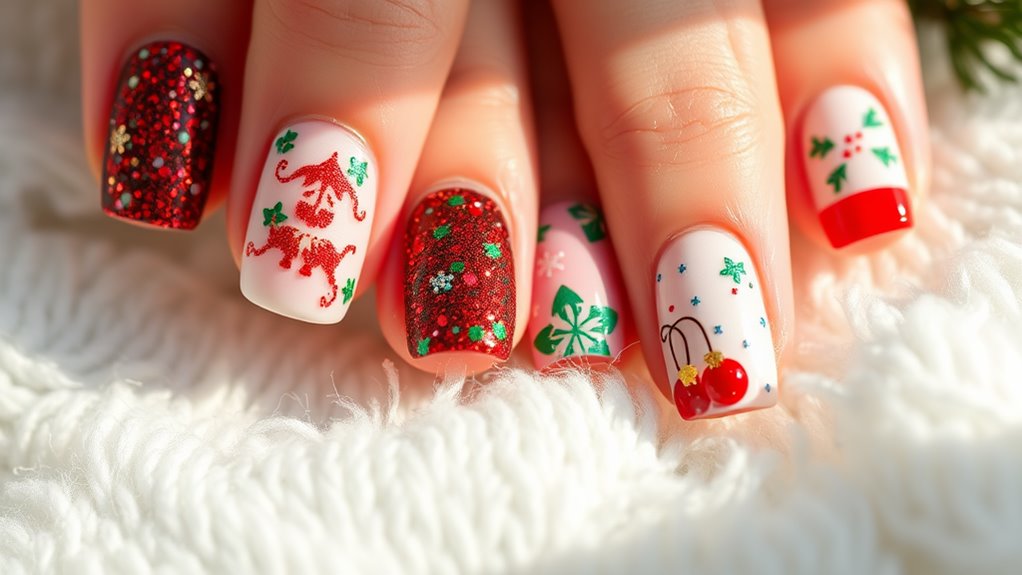
Caring for your nails is essential for keeping them healthy and beautiful, especially during the holiday season when you want them to shine. Start by keeping your nails clean and dry. Wash your hands regularly and avoid exposing your nails to harsh chemicals. If you use nail polish, opt for a quality base coat to protect your nails from staining.
Moisturizing is key! Apply a good hand cream or cuticle oil daily to nourish your nails and surrounding skin. This helps prevent dryness and cracking, which can be especially tempting during winter months.
Make sure to trim your nails regularly to keep them at a manageable length. This not only helps with aesthetics but also reduces the risk of breakage.
Don’t forget to give your nails a break from polish now and then. This allows them to breathe and recover. Consider using a strengthening treatment if your nails are prone to splitting or peeling.
Finally, remember to eat a balanced diet rich in vitamins and minerals, as this can promote healthy nail growth. With these tips, your holiday nails will look fabulous and feel great!

